

Let’s face it, during the beginning process of adding meat rabbits to our homestead, I wasn’t the happiest girl in the world. The thought of butchering little animals that I had hand raised as helpless little creatures just didn’t appeal to me. But my mountain man husband talked me to into them, and I was immediately sold as we started on this journey. After getting through the various learning obstacles, raising meat rabbits eventually became a joy for me, and now I cannot suggest it enough to those who wish to live a more self sustainable life. If you know me personally, then you know that I love to research every single thing before diving headfirst into something. But with meat rabbits, I found that there really wasn’t a lot of info out there — and the info that was there was very conflicting. All in all, I discovered that there really wasn’t one single way to raise meat rabbits, and that we were just going to have to figure out what worked well for us. So I’ve decided to share the basics with you — a post that you can reference very quickly and easily. I wish someone would have put this together for me when I first got started, but alas, here I am almost two years later, pounding it out myself.
Please keep in mind that these are the things we have found that work for us. As you get further into your meat rabbit projects, you’re going to find things that suit you better. But as a newbie, these were the things I wish I would have known. There will be links to all of the products mentioned below so that you can visually see them — I’m a visual learner, it helps me!
Don’t want to raise rabbits for meat? Here are 16 Meat Chicken Broiler breeds you can learn about.

Choosing the Breed + Buying Rabbits
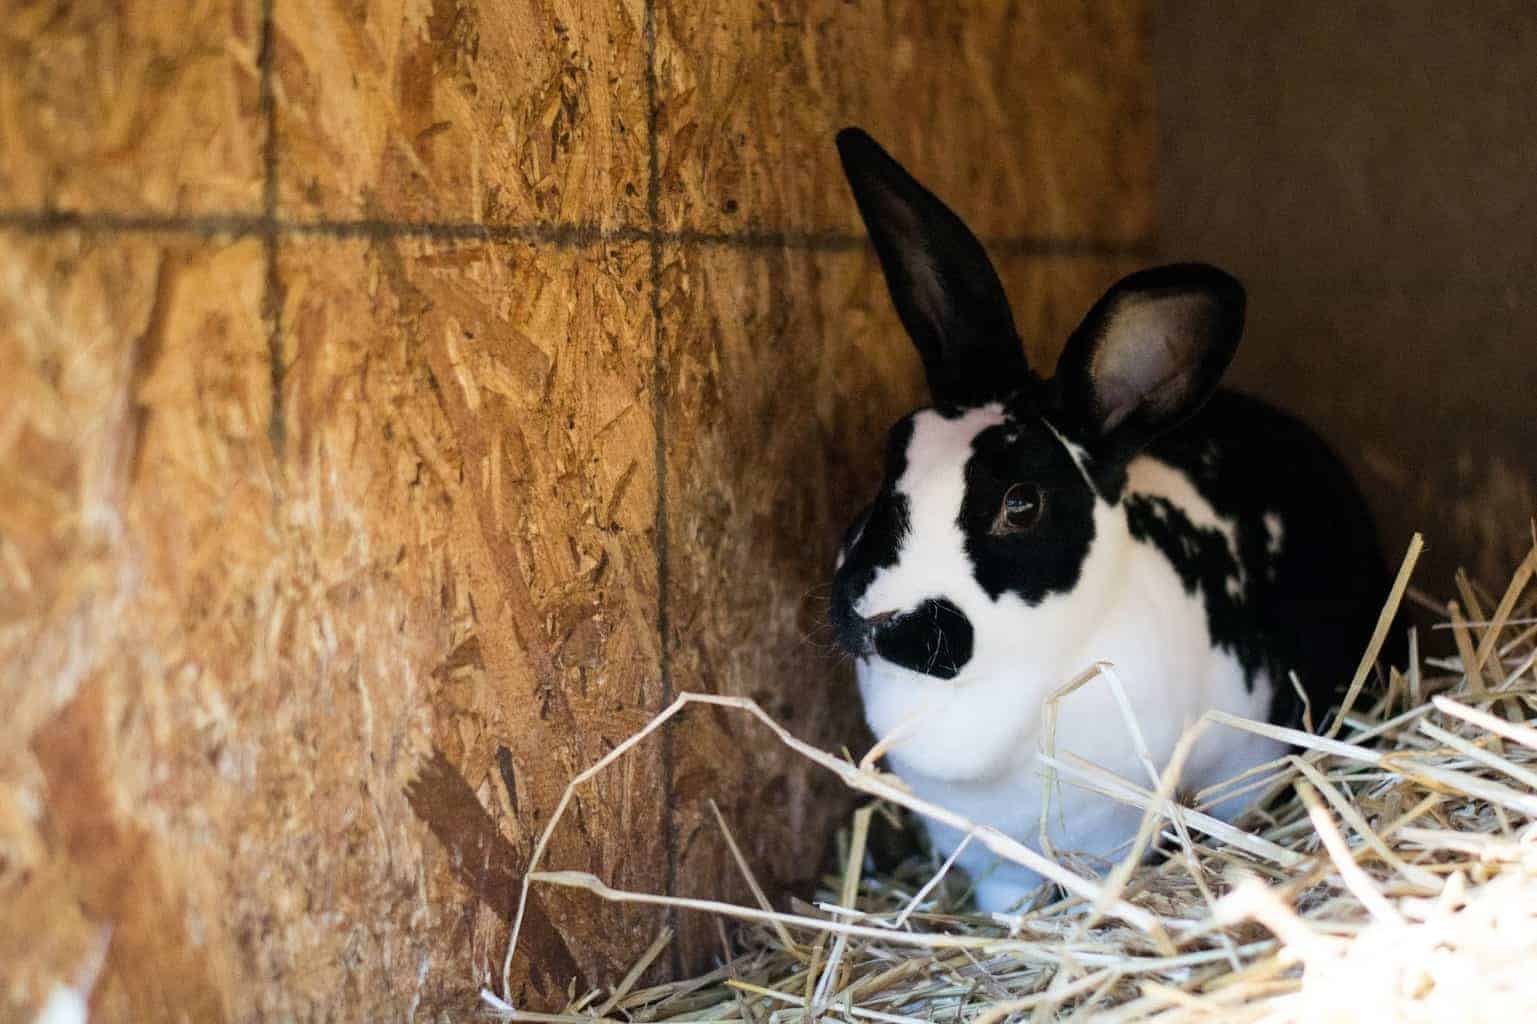
On our homestead we raise Standard Rex (above) and Flemish Giant rabbits. We’ve had our fair share of learning the hard way when it comes to buying rabbits, so I cannot stress enough to do your research on the breed and the previous owner. Typical meat rabbits are New Zealand, Californian, Standard Rex, Silver Fox, American Chinchilla and Flemish Giant. The larger boned breeds, such as the Flemish, should be bred with a different, less boney breed (such as we do with our Rex). Otherwise, you’ll have more bone than meat on your processed rabbits. We breed our Flemish giant does to our Rex bucks. This allows for a large meat rabbit, but with less bone and more meat. We also breed purebred Rex rabbits for meat and pelts.
It’s easy to get on craigslist and find a rabbit breeder, but just as with any other livestock or product you’re buying, you need to make sure that you’re getting what you’re paying for, and that the animals are healthy.
Check for the following:
— Is it the breed that they say it is? There are a lot of nice people out here who are dishonest or simply don’t know what they have. You could have a rabbit that looks like that particular breed, but could very well be a mix. Make sure they know their stuff about what they are selling.
— Overall health. Make sure there aren’t any ear mites (crusty, red ears), runny discharge from nose, eye discharge, sore hocks (missing fur and sores on feet), wheezing, or genital diseases (overly red or blistered). Also make sure that they aren’t too thin and that their teeth look healthy and aren’t overgrown. Ask the seller if they have ever had any health issues, have been bred before, and what kind of feed they were on. If you are going to the seller’s property, inspect the rabbit’s living conditions. Just because a rabbit doesn’t look sick, doesn’t mean they aren’t sick or bringing parasites back home with you. Always quarantine new rabbits away from your other breeding stock for at least 3 weeks before introducing them to each other.
— Pedigree’s and age. I always suggest buying a rabbit under the age of 18 months. Most rabbits start slowing down at the 2 year old range, and does can stop having efficient litters at 3-4 years of age. You want to get the most out of the rabbits that you are buying. Should you purchase a rabbit that comes with a pedigree, insist on getting the pedigree in-hand when you purchase the rabbit, rather than waiting for them to email it to you. A pedigree is simply a piece of paper that states their generational information for at least the past 3 generations. All of our Rex rabbits are pedigreed so that we can sell them more efficiently for people who purchase our rabbits for show. We sell kits whenever we have extra kits from a litter or whenever we have a beautiful litter that we know will do well at shows.
Prices range when purchasing a rabbit — it varies by age, breed, quality, and how many you buy at one time. But above all those things, remember that most of the time, you get what you pay for. After making sure all of the above things check out, then ask price and negotiate. Meat rabbits are an investment into your family’s lives, don’t try to take the cheap road out on this new adventure. You will certainly get back what you pay into them. At the same time, don’t over pay either. Do your research on the breed and pricing in your area. Self research is the best research.
.jpg)
The Housing Some people will tell you not to do wooden hutches. Others will tell you not to do wire hutches. While still others will tell you that raising rabbits in a colony is the only way to go. Ultimately, we rebelled against them all and combined the best of both worlds — I bet their OCD was on overload when they saw these photos. In the unfinished hutch above, we have wire flooring (hardware cloth) as flooring. Each floor has a 2×4 in the middle for support. For larger breeds, such as a Flemish Giant, you need to have an area in the hutch where they can rest their feet. They make special place mats that you can use, or you can stick a small piece of untreated plywood in the hutch. In the summertime, they enjoy ceramic tiles to lay on, as it helps cool them down. Should you choose to raise the larger breeds, their cage flooring must be sturdy, so make sure you find a very well built wire cage for them, or do as we did with extra support. When our rabbits aren’t in hutches, they are free ranging on the property in portable crates or pens. We decided that wire flooring was best because it allows the feces to fall to the ground, so that our chickens stir it up and we can use it for manure in the garden. However, we also decided that wooden sides were best, to help deter predators and to block the wind and cold in the Winter time. Some of our hutches have removable wooden sides that expose wire so that they can get extra airflow in the Summer months.
Here is another hutch that my husband built. This particular hutch was built out of convenience, we have one other just like it. We built these so that we could place them on cinder block rather than having to worry about building hutches on stands — like the one you can see to the left of it. We have several hutches on stands. Those hutches are much smaller and house our breeding bucks (males). These ground hutches allow us to move the hutches around if we need to, and will also allow us to easily pick up and move them to another property whenever we sell our current property. We use these for breeding does and as grow out pens. Grow out pens are where we house weaned litters so that it allows them more room to grow and play. Our nursery hutches, which are the hutches we have for our breeding does, are separated by a plywood wall, separating the hutch into two sections — one side (completely enclosed with vents) for the babies and nesting box, the other side for mom to eat and drink and lay around. There is a round or square hole cut in the plywood so that mom can go back and forth between sections. This also keeps the kit area dark and cool in the summer, and warmer in the winter. The dimensions of your housing will vary by breed. For our larger breeds and nurseries we have larger hutches — between 3×3 and 4×6 ft. If you choose to raise smaller breeds, you can adjust the size to something smaller if necessary. Keep in mind that your rabbits need to have enough space to stretch out. A large breed rabbit can be 3 ft long when stretched. They also need a little extra space to roam — you can build your hutches bigger or you can have a “play area” for them on the ground. They especially love this if you allow them to eat on pasture.
The Feed and Water
A lot of people have a misconception as to what rabbits should eat on a regular basis. We have found that our rabbits are happiest when they can be on the ground at some point during the day. This allows them to dig at the ground, eat seeds and grass, and romp around without being cooped up. Just make sure that whatever you place them in as a floor where they are unable to dig out of the ground hutch, should you choose to raise them on pasture. We’ve also tried to get our rabbits off of the dependency of feed from the farm store. Your rabbit should only be eating a tuna fish size can (per rabbit) of feed each day. The rest of your rabbits diet should consist of free feed hay (timothy hay or orchard grass), fodder that you can grow yourself, and veggies (carrots, kale, etc). There are also things that your rabbit shouldn’t eat, such as lettuce, which is mostly water anyhow. These types of watery veggies can cause diarrhea and irritable bowel for your rabbit, and can even cause death. I always highly encourage people to incorporate herbs into their rabbits feed as well (though some not daily). Things such as oregano, garlic, Echinacea and plantain weed from your yard. There are an abundance of herbal and all natural treats that you can give to your rabbit, which we’ll speak more about in the coming weeks. The inclusion of these daily herbs and weeds also help boost immunity and prevent sickness. Believe it or not, you can do a lot with a rabbit’s water and it’s equally as important as its feed. Adding organic Apple Cider Vinegar that still has the mother in it (ACV) to their water (1 tbs per gallon) will help make their bodies more alkaline, aide in digestion, de-worm, and make their bodies healthier overall. We do the same for our chickens Spring, Fall and Winter. ACV should not be given in the Summer months as it can cause the body more harm than good when the animal is trying to cool itself off. Kits will start eating pellets and hay as early as 2 weeks old. Alfalfa hay is a good source of calcium, however, I never suggest it at such a young age as it can cause blockage if too much is eaten. Given in small amounts, it will help the bone development of your kits. Kits can eat everything mom eats, in moderation.
.JPG)
The Breeding and Gestation Process
You know that saying “breeding like rabbits”? It’s a myth. Your rabbits aren’t going to breed like rabbits, because quite honestly, domesticated rabbits do not breed nearly as often as you would think. I’ve written a more in-depth article about that — you can read it here. Overall, once mastered, the breeding process is fairly quick and simple. The first rule of thumb is to always breed a larger doe to a smaller buck. This ensures that the kits are not too big for the doe to deliver. After a doe has been bred, it is up to you to make sure she remains healthy and happy. If spooked or suffering from malnutrition, she can be a victim of miscarriage, pre-mature labor, or even death. Does will eat a little more than normal, however, make sure not to overfeed.
The one thing I’ve noticed more than anything is that they drink two to three times more water when they are bred. Add an extra water bottle if necessary to keep up with her demand. Water is so important, especially during the Summer and Winter. Some choose to breed all year long, but it is personal preference. Ideally, you would breed Spring through Fall and then give your doe’s a break in the Winter time. This helps them conserve body heat and is less harsh on your newborn kits.
A rabbits typical gestation period is between 28 and 31 days. However, most rabbits deliver on or right around day 31. Rabbits can certainly go longer — we always give up to day 40 before breeding again. In an effort to limit wasted time, we always palpate our does two weeks after they have been bred. If we do not feel that she has been bred, we wait another week. If we still do not feel babies inside, we immediately re-breed. I will be posting a video on this in the coming weeks once the snow has passed.
One week before kindling (or on day 25), put a kindling nesting box in with your doe. You can create your own or purchase them online. Give your doe plenty of straw so that she can make a nest. In order to entice the doe to build her nest in the nesting box, I stuff straw in the box and allow her to then organize it. I put extra straw into the hutch the following day so that she can continue to put it in the nesting box herself. Does will pull fur for the nest, but our does usually only pull fur an hour or so before kindling. This is why whenever we see a lot of fur, we know to look and make sure there are or are not kits in the box. We handle kits the day they are born, but just briefly to make sure they are all healthy and none are dead. We remove any that have died and leave the rest alone for 24 hrs so that they can rest and stay warm. After that 24 hr period, we start handling them daily.
It is a complete myth that a mother rabbit will not take her babies back if you handle them.
If for some reason your doe has a miscarriage or has lost a litter, you can breed her back to a buck within the first month after miscarriage. A lot of people will tell you to breed her back immediately, however, we just don’t practice that here. We allow our does time alone and to be back at their best before we re-breed them. This gives us time to make sure she is healthy and to reexamine why she may have miscarried. We have had 2 does miscarry during this journey. The first doe miscarried due to stress — we were moving the cages around and she just got too hyped up. The second doe miscarried due to unknown causes. We believe that it could have been genetics to the buck that we were currently breeding with.
Kits stay with mom for 7 to 8 weeks. Some of our rabbits wean at 4-5 weeks of age. The kits stay with mom until 7-8 weeks or until fully weaned (4-5 weeks), whichever comes first. They are then placed in a grow out pen together (without the doe). Again, we like to give our doe a break after she’s weaned her babies so that she can get her health up to speed and has some alone time. We choose not to re-breed her until she has been without her babies for at least a week or two.
Time to Process
Depending on the breed, you can process your rabbits between 12 weeks and 20 weeks. We have processed 6 month old rabbits and they have tasted exactly the same. The younger the rabbit, the better. But in my honest opinion, I cannot tell a difference between a 12 week old rabbit and a 6 month old one. You start getting into tougher meat after the 6 month mark.
Processing day is normally a family process here, however, the more we do it, the more I find myself doing it alone. Which is actually something that I, as a woman, am very excited about and take a lot of pride in. When it comes down to it, our lives are extremely busy. This inevitably means that it is easier for me to process rabbits during the day than it is to wait until the evening when mountain man gets home. Thankfully, I have a husband who is very patient in teaching me new things.
Here is a quick rundown of the process:
The first step is the dispatching of the rabbit. We prefer the broomstick method, which is when you place a broomstick on the neck of the rabbit and pull their hind legs up so that it instantly snaps their neck. It is quick and painless, I promise. I prefer this method because it comforts me in knowing that I can feel the rabbits body instantly go limp, which means the kill is complete. There are involuntary jerks every now and then, but nothing like a chicken with its head cut off.
After dispatching, you need to hang the rabbit and cut off the head to allow it to bleed out. However, you can start butchering right away after cutting the head off. You can leave the head on if you prefer to keep the entire skin.
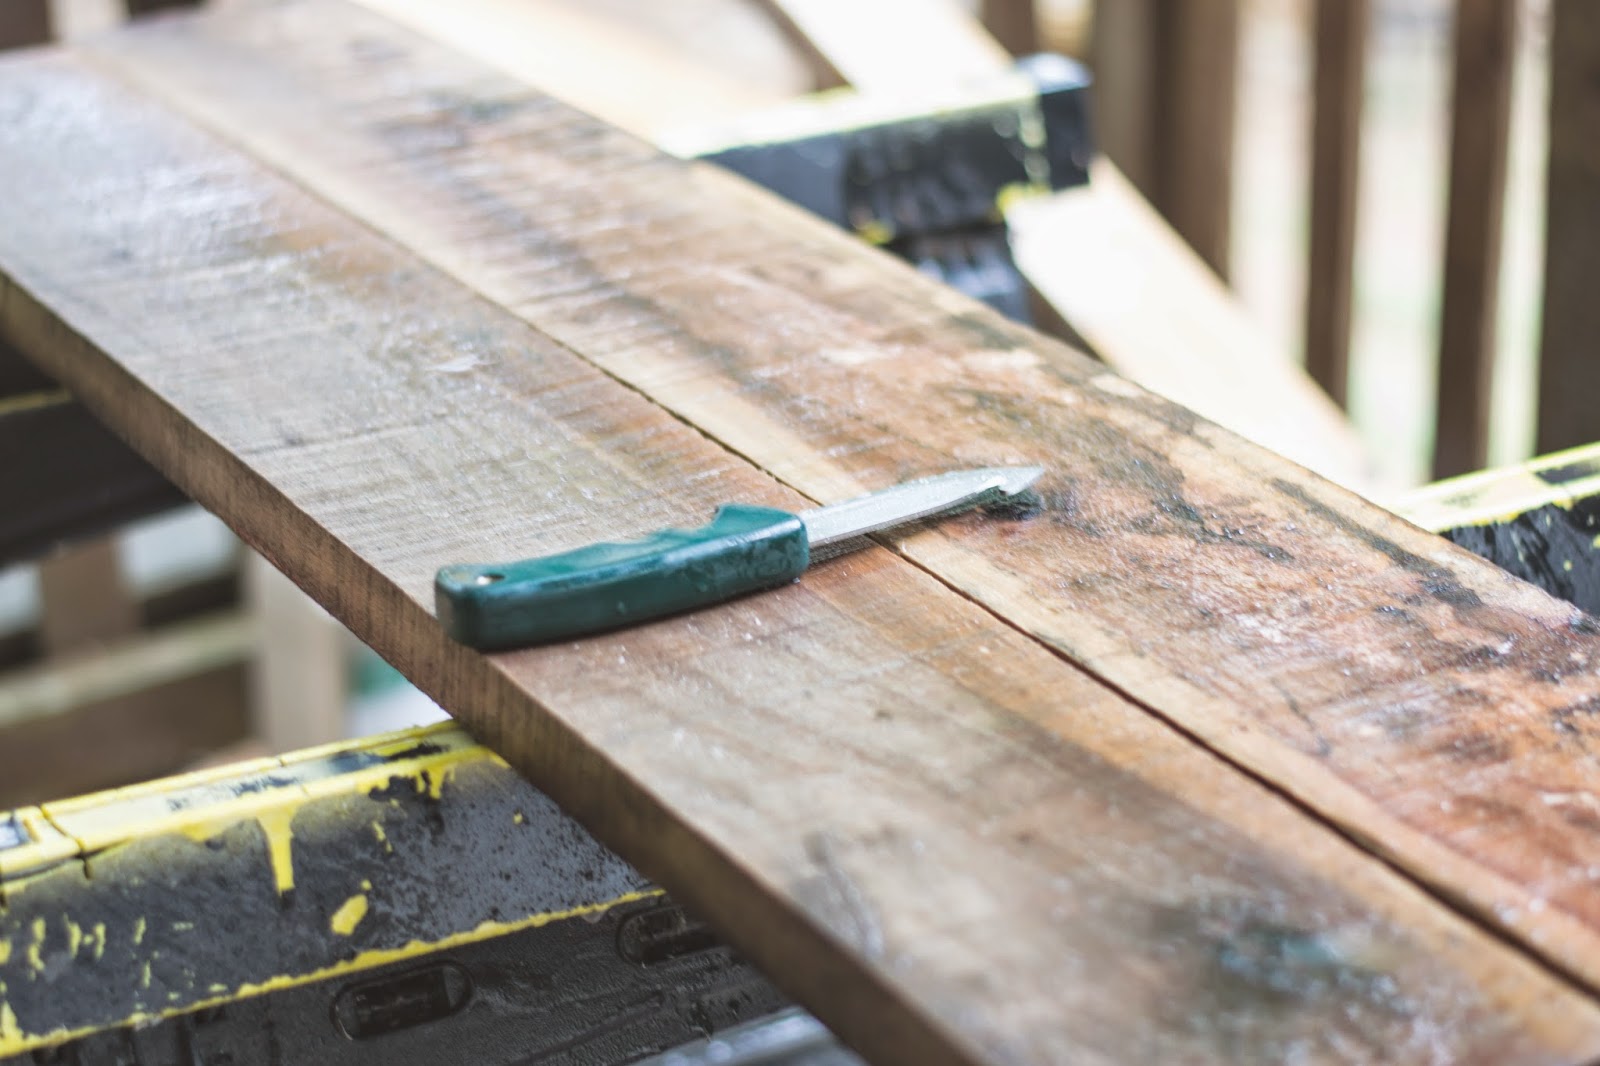
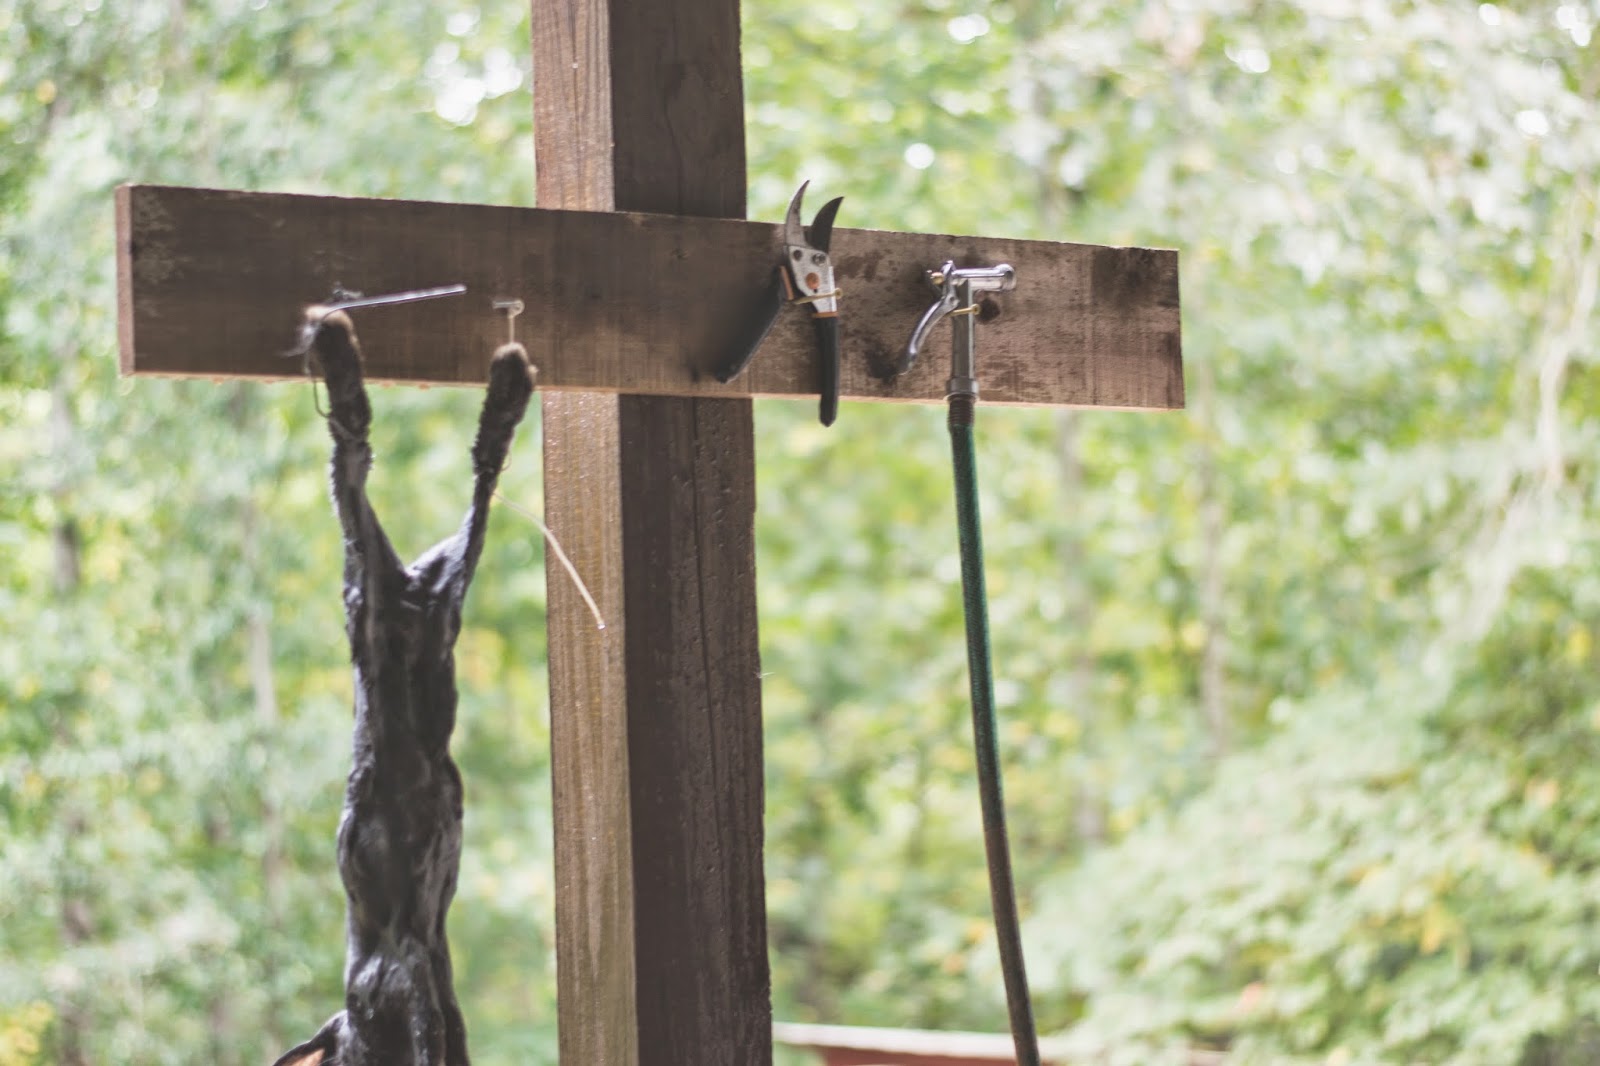
We created the board above so that everything is easily accessible. There are hooks to hang the rabbit on, and hooks for the hose, a knife, and shears or butchering scissors.
We have found that hosing the rabbit down makes it easier to skin. You can even do this if you plan to save the pelts for tanning. This just enables you to work quicker without hair flying everywhere and getting on the meat. It is extremely hard to get hair off of rabbit meat. A rabbit skin is very easy to take off, and we often refer to it as “taking off a sweater”. It truly is that easy after zipping around the legs.
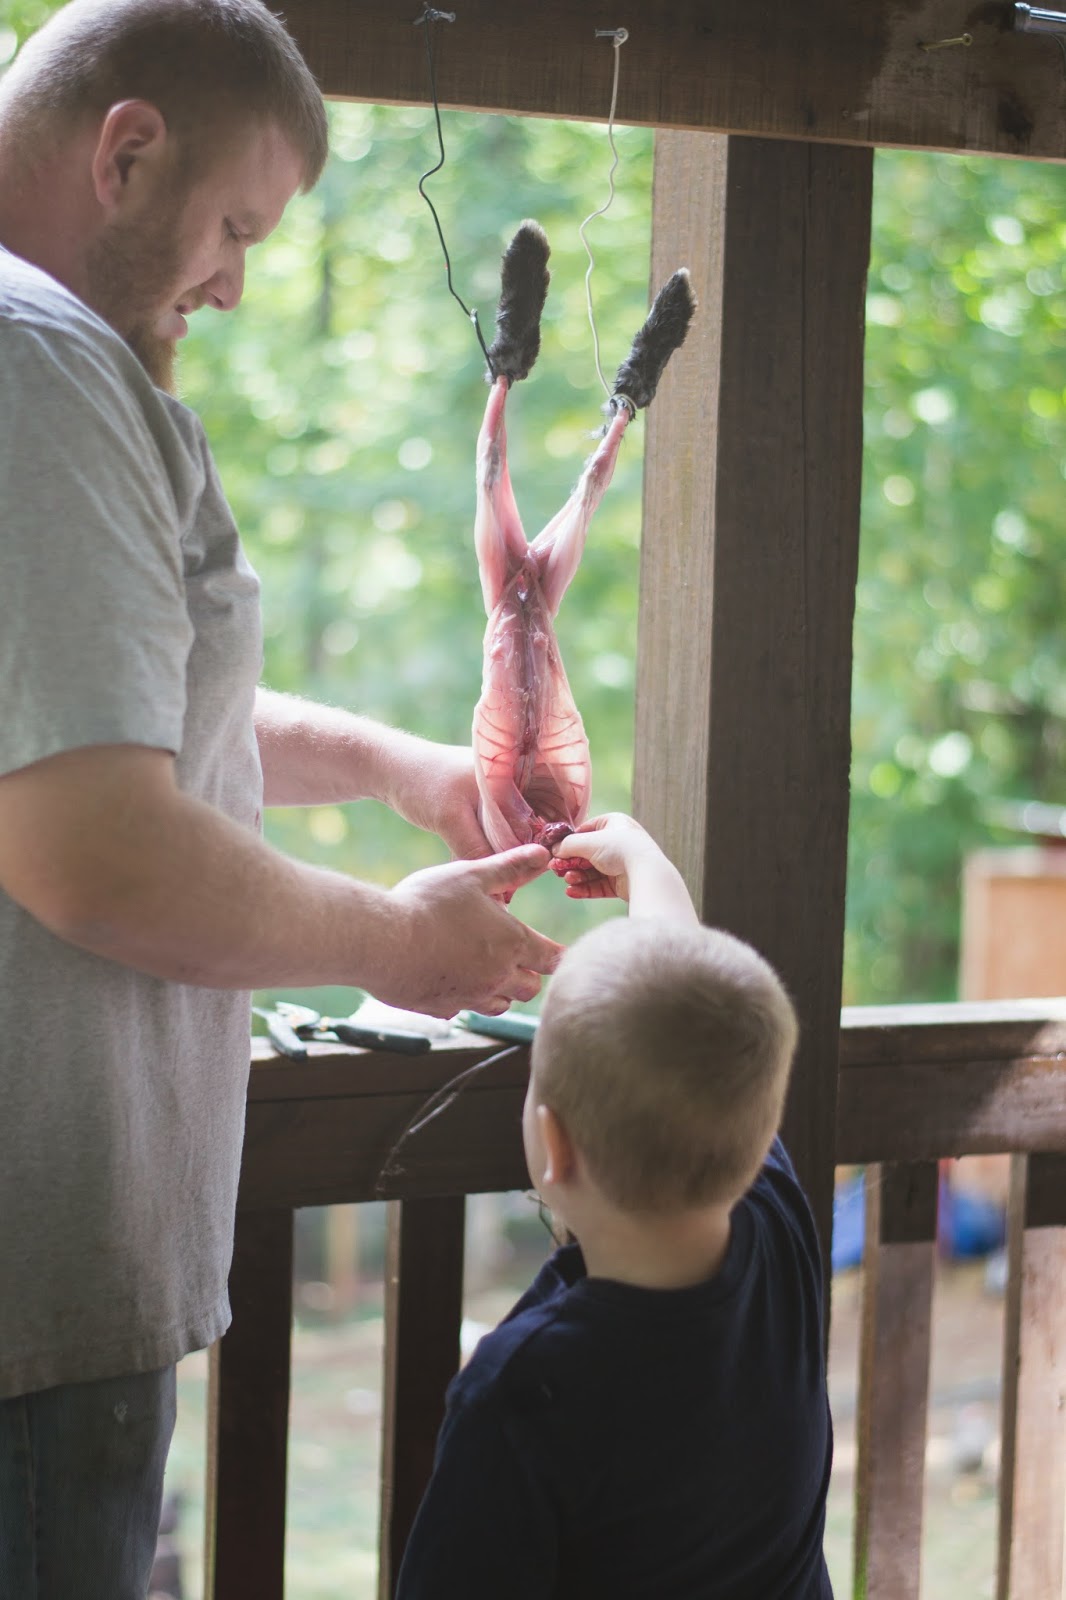
Once the rabbit is skinned, you’ll need to gut it, making sure you do not hit the bladder or urinary tract. Be careful not to hit any of the organs either. You can keep the organs and use them as scraps for the dogs or chickens. Or you can save the livers, etc, for yourself. We toss them to the dog and the chickens.
A word of advice, use latex gloves. Just my preference…— semi-graphic photos below–
After the Processing
After your rabbit meat is completely cleaned and washed off, you can simply bag it and toss it in the freezer. If you want to keep one out for dinner the following day, you can place it in a salt brine and allow it to sit for 24-48 hours in the fridge. However, I simply just toss all of them in the freezer to discourage rigamortis, and then thaw the rabbit out the following day.
Rabbit meat takes the place of chicken most of the time in our household. You can roast a whole rabbit the same way you roast a chicken, however, you must serve rabbit immediately, otherwise it will dry out quickly if left to “keep warm”.
Leftover rabbit meat can be tossed into soup, made into a pot-pie, or even made into rabbit enchiladas. There are endless possibilities, and we like to use them all.
Long story short, we love our meat rabbits, and we love to bring awareness of how simple it is to raise your own. The key is not allowing it to overwhelm you. Think with your mind, research constantly, and give it all you’ve got. Eventually it will be so familiar that you won’t have to think about it.
You may run into issues along the way, but you’ll survive. Don’t give up. Lean on the homesteading community that surrounds you. Ask questions, and don’t feel bad for asking them. We’re all on this journey together, some longer than others.
I am currently in the process of writing more in-depth about the Meat Rabbit process and hope to share more with you soon. Until then, I hope these basics help you!

Do you produce and sell
Your rabbit information is wonderful, Amy – thank you! How many rabbits do you eat per month, would you say?