A Checklist for Setup, Equipment Failures, and Timing That Make Chicken Processing Day Mistakes Preventable
There are few days on the homestead that require more preparation than chicken processing day. Whether you’re harvesting meat chickens, turkeys, rabbits, ducks, or larger livestock, processing day can either be smooth and efficient—or it can quickly become a stressful, exhausting mess that wastes time, energy, and valuable meat. From a killing cone to ice water, shrink bags to sharp knives, there are things to think about.
The difference often comes down to preparation.
Over the years, we’ve learned that the biggest chicken processing day problems rarely happen during processing itself. They happen because of poor planning, missing equipment, bad timing, or overlooked details before the first animal is ever harvested.
If you’re preparing for your next chicken processing day, use this checklist to avoid the most common mistakes that can cost you hours of work, reduce meat quality, and create unnecessary chaos.
KEY TAKEAWAYS
- The majority of chicken processing day failures occur during the preparation phase rather than during the actual processing, making pre-day planning the single most critical factor for success.
- Feed withdrawal 8 to 12 hours before processing significantly reduces contamination risks and makes evisceration cleaner by allowing the digestive tract to empty while water remains continuously available.
- Sharp knives and tested equipment are non-negotiable requirements, as dull blades slow every processing step, increase hand fatigue, and create safety hazards that can damage carcass quality.
- Rapid cooling with adequate ice supplies preserves meat texture, flavor, and food safety, with ambient temperature and processing volume requiring significantly more ice than most homesteaders initially estimate.
- Processing workflow should follow a single-direction assembly line from harvest through packaging, with clean areas separated from dirty areas to minimize unnecessary movement and maximize efficiency.
1. Test Chicken Processing Equipment Before Processing Day
Few things derail a processing day faster than equipment failure. Yet this is one of the most common mistakes homesteaders make. After all, the scalder worked fine last year, right? The vacuum sealer should still be good. The plucker has always started before. The killing cone should be locked and set up. The ice water coolers should be cleaned out.
Until it doesn’t.
Processing day isn’t the time to discover that a hose has cracked over winter, a propane regulator has failed, or a heating element has burned out. By the time you realize something isn’t working properly, animals may already be harvested, temperatures may be rising, and stress levels are climbing.
At minimum, test all major equipment 24 to 48 hours beforehand. Fill the chicken scalder and bring it to temperature. Start the chicken plucker and make sure the fingers are intact and working. Run several bags through the vacuum sealer. Check extension cords, water lines, generators, propane tanks, and sharpening tools.
It is also wise to keep backup supplies nearby. Extra propane tanks, replacement vacuum bags, spare hoses, and additional extension cords can save a processing day when something unexpectedly fails.
The best processing days feel almost boring because everything works exactly as planned. That level of efficiency begins with testing equipment before the first animal is ever brought to the processing station.
2. Sharpen Knives Ahead of Time
A sharp knife is one of the most important tools you’ll use during processing. Unfortunately, it’s also one of the most neglected. There’s nothing worse than a chicken in a killing cone that is screaming and barely bleeding because your chicken processing knife is dull.
Many people begin the day with a knife that feels “good enough.” After processing several chickens, however, that edge quickly dulls. Suddenly every cut requires more force, more sawing motion, and more frustration.
A dull knife slows every step of processing. It makes things more difficult, increases hand fatigue, and can even damage the appearance and quality of the finished carcass. More importantly, dull blades often cause injuries because users compensate by applying excessive pressure.
Rather than relying on a single knife, prepare multiple sharpened knives before processing begins. Rotate them throughout the day and touch up edges as needed. Keep a sharpening stone, rod, or generic sharpener nearby for quick maintenance. Also, keep a rag nearby in case you need to wipe your knife off before sharpening.
Many experienced processors prefer to have at least three knives available: one for harvesting, one for evisceration, and one reserved for final trimming and packaging. This helps maintain cleanliness and efficiency throughout the workflow.
3. Estimate How Much Ice and Ice Water You’ll Need
If there is one supply that almost everyone underestimates, it’s ice and ice water. Proper chilling is one of the most important factors affecting meat quality and taste with meat chickens. After processing, carcasses need to cool rapidly to preserve texture, flavor, and food safety. Without enough ice or ice water, cooling happens too slowly, especially during warm weather. In a bind, we’ve just used really cold straight from the well water, but if you do that, you need to get those birds in the freezer fast. We’ve only done this when we’ve had just a few birds to butcher.
Many homesteaders calculate ice and ice water based on the cooler size alone. What they fail to consider is ambient temperature, the number of animals being processed, transportation time, and how quickly the ice itself melts throughout the day.
Running out of ice creates immediate problems. Meat chicken carcasses may sit at unsafe temperatures. Packaging and storage become more difficult. A good rule is to purchase significantly more ice than you think you’ll need. Excess ice can always be used later. Not having enough can jeopardize an entire day’s work.
For larger poultry processing days, many experienced homesteaders use multiple coolers dedicated solely to ice storage. This allows them to replenish chilling stations as needed without making emergency trips to town halfway through processing. You can also purchase meat chicken carcass cooling tanks.
When it comes to ice, excess is cheap insurance.
4. Have Enough Coolers
Many first-time processors assume one cooler will be sufficient. Then the birds start piling up.
Coolers serve multiple purposes throughout processing. They are not simply containers for finished meat. Depending on your setup, you may need separate coolers for freshly chilled carcasses, packaged meat, organ meats, transportation, and temporary storage. Depending on how many birds you’re butchering, you’re going to need at least 2 large coolers for 20 birds.
Overcrowding coolers creates several problems. Airflow and water circulation become limited. Carcasses cool more slowly. Ice melts faster. Organization becomes difficult. By the end of the day, you’re digging through piles of meat trying to find space.
A better approach is to plan your cooler capacity before processing day arrives. Estimate the finished weight of your harvest and determine how much cooler space will be required. Then add additional capacity as a buffer.
Many experienced processors would rather have too many coolers than too few. Empty cooler space is rarely a problem. Running out of cooler space halfway through processing can quickly turn an organized operation into chaos.
We also use commercial livestock stock tanks for ice and ice water, which can have more room for a better price than coolers. The metal or black tanks work fine.
Remember that cooling is not merely a convenience—it is a critical part of producing high-quality meat.
5. Organize a Chicken Processing Flow
One of the biggest time-wasters on meat chicken processing day isn’t the processing itself—it’s unnecessary movement.
Without a planned workflow, people constantly walk back and forth carrying birds, tools, water, and equipment. These small inefficiencies add up over the course of the day and can easily cost hours of productivity.
Think of your processing area like an assembly line. Each station should naturally flow into the next.
Harvest → Bleed → Scald → Pluck → Eviscerate → Clean → Chill → Package
Ideally, animals move in a single direction without crossing paths with finished products. Clean areas should remain separate from dirty areas. Tools should be positioned exactly where they’ll be used.
Before processing day, physically walk through the sequence. Imagine carrying an animal from one station to the next. Look for bottlenecks, awkward turns, crowded workspaces, and areas where contamination could occur.
The most efficient processing setups are often surprisingly simple. They are designed around minimizing movement and maximizing flow. Every unnecessary step takes time. Every extra trip across the processing area increases fatigue. A thoughtful layout can dramatically increase efficiency without spending a single dollar on additional equipment.
Here’s what our Chicken processing day set up looks like (literally in a line):
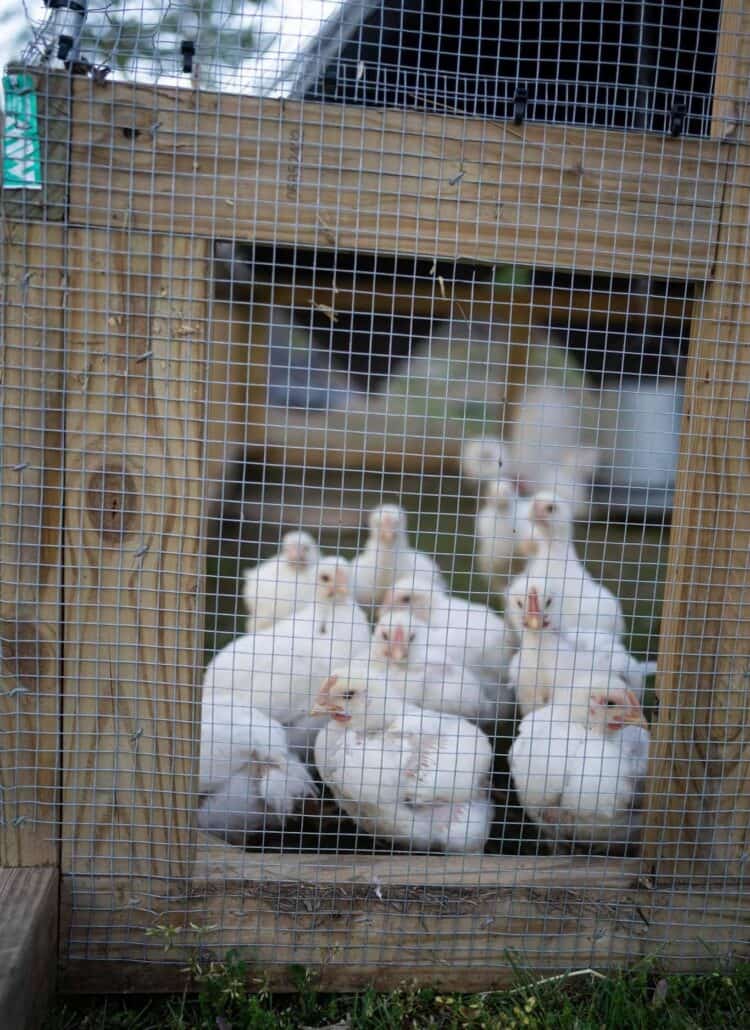
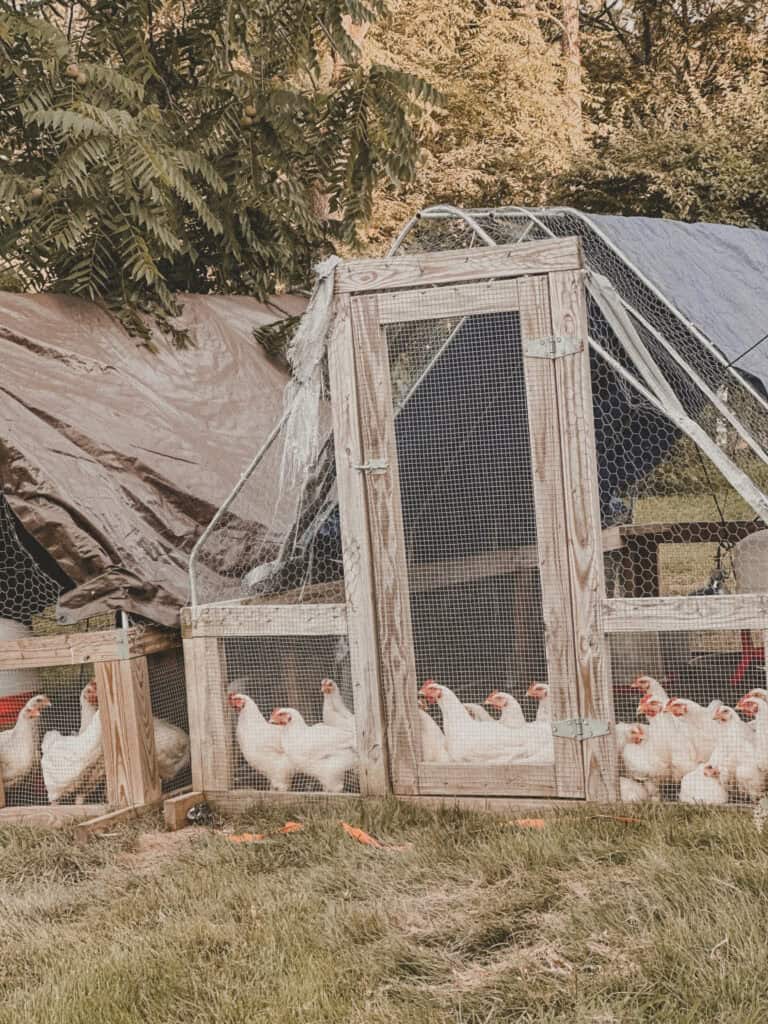
- chickens (alive)
- killing cone set up and stand (don’t forget the buckets under the killing cones)
- chicken scalder or turkey fryer set up
- chicken plucker
- chicken processing tables
- chicken cleaning outdoor sink
- Coolers or stock tank (they go hang out there for awhile to chill quickly)
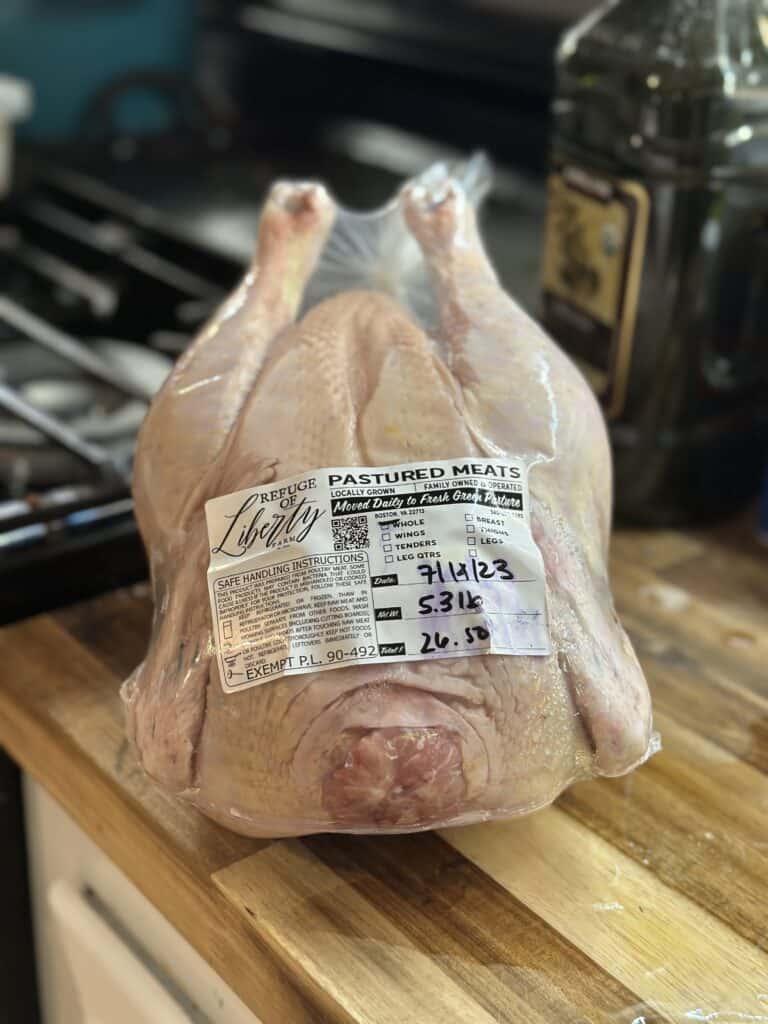
- Bagging and packaging area (we use Texas Poultry Shrink Bags and Custom Labels)
- Food saver area (indoors, normally, for parted out pieces)
6. Start Early in the Day
Heat is one of the biggest enemies of a successful processing day. Many homesteaders make the mistake of sleeping in, gathering supplies that morning, and not beginning until late morning or early afternoon. By then, temperatures are rising, workers are getting hot, you’re already frustrated because you can’t find what you need, and the meat itself becomes more difficult to keep cool.
Early morning processing offers several advantages. Temperatures are lower, workers are fresher, and animals tend to be calmer. The cooler environment reduces stress on everyone involved and helps maintain meat quality throughout the day. Processing during the hottest part of the day also increases the amount of ice and ice water you’ll need and the likelihood of fatigue-related mistakes. Tired helpers tend to make poor decisions, work more slowly, and are more prone to accidents.
Many experienced poultry processors begin before or at sunrise for a reason. By the time the hottest part of the day arrives, the majority of the work is already complete. And you can spend the rest of the day indoors parting out chicken pieces.
The earlier you begin, the more flexibility you have when unexpected problems arise.
The 24-Hour Processing Day Timeline: What to Do When
Here’s the hour-by-hour breakdown that you might consider using:
Day Before (Evening)
• 6:00 PM – Remove feed from birds (water only)
• 7:00 PM – Test all equipment and bring to operating temperature
• 8:00 PM – Sharpen all knives and organize tools by station
• 9:00 PM – Stage packaging supplies and count inventory
Processing Day
• 5:30 AM – Fill coolers with ice, set up stations
• 6:00 AM – Begin harvest (goal: 75% complete before 10 AM)
• 10:00 AM – Scheduled break, equipment check, ice replenishment
• 12:00 PM – Finish final birds, begin continuous cleanup
• 2:00 PM – Packaging and labeling complete
• 3:00 PM – Final cleanup and equipment storage
The Temperature Window Strategy
Processing during the coolest 4-hour window of the day (typically 6-10 AM) can reduce your ice needs by 40% and cut meat cooling time nearly in half. This single timing shift prevents the cascade of problems that occur when afternoon heat arrives before processing is complete.
7. Don’t Process Too Many Animals at Once
Every year, eager homesteaders underestimate how much work processing actually requires. It’s easy to look at a flock of birds and think, “We’ll knock these out in a few hours.”
Then reality sets in.
Processing is physically demanding and requires constant attention to detail. Start by choosing the best meat chicken breeds for your homestead.
Every animal must move through multiple stages, and each stage takes time. When too many animals are introduced into the workflow at once, bottlenecks develop quickly. Birds begin piling up at the plucker. Coolers become overcrowded. Packaging gets delayed. Helpers become rushed.
This often leads to mistakes that reduce meat quality or increase contamination risks.
If you’re new to processing, start conservatively. Learn your pace before scaling up. It is far better to process fewer animals efficiently than to overwhelm yourself and create unnecessary stress. A general rule of thumb: it takes about 8 minutes for a newbie to process 1 meat chicken. So if you only have two people helping, and 20 birds to process, it will take roughly 2-3 hours for you to process those 20 birds, and that’s if you don’t run into mistakes.
As your skills and team improve, you’ll naturally increase capacity. But the goal should never be speed alone. The goal is producing clean, high-quality meat safely and efficiently.
8. Don’t Skip Feed Withdrawal
Feed withdrawal is one of the simplest ways to make processing cleaner and easier, yet many beginners overlook it. For poultry, feed is typically removed 8 to 12 hours before processing while water remains available at all times. This allows the digestive tract to empty before processing begins.
When birds still have full crops and intestines, evisceration becomes more difficult and messy. And stinky. The likelihood of accidental punctures increases, which can contaminate the carcass and create additional cleanup work.
A properly emptied digestive tract makes processing smoother and significantly reduces contamination risks.
Many new homesteaders worry that feed withdrawal is harmful. However, the short fasting period is widely practiced and helps create a cleaner processing environment.
One small preparation step the night before can save considerable frustration the next day.
Here’s a great recipe for homemade chicken feed.
9. Secure Enough Processing Day Help
Processing day is rarely a one-person job. Even if one person can technically perform every task, efficiency improves dramatically when responsibilities are shared.
One person can manage harvesting. Another can oversee scalding and plucking. Someone else can handle evisceration, packaging, labeling, or keeping supplies stocked.
Even inexperienced helpers can contribute meaningfully. Children can label bags. Family members can transport coolers. Friends can package meat or manage cleanup. When assigning helpers, make responsibilities clear before the day begins. Everyone should understand where they are needed and what their role will be.
A coordinated team can often accomplish in a few hours what would take one person an entire day.
This is also a great opportunity to show others how to process meat chickens. Many people want to learn, but have no one to teach them. It’s free help (send them home with a bird!), but efficient help.
Task Assignments by Helper Experience Level
| Helper Type | Best Tasks | Avoid Assigning |
| Experienced adult | Harvesting, evisceration | Packaging only |
| Beginner adult | Plucking, packaging | Knife work |
| Teenagers | Transport, labeling, ice | Harvesting (unless you want them to have the experience) |
| Children (8-12) | Labels, cleanup, supplies | Harvesting (unless you want them to have the experience) |
| First-time observer | Water management, tools |
10. Check the Weather Forecasts
The weather forecast should be checked several days before processing—not just the night before.
Rain can flood processing areas. Wind can blow contaminants onto work surfaces. Extreme heat can create cooling challenges. Cold temperatures may affect your efficiency.
Many homesteaders focus exclusively on the animals and equipment while forgetting the environment around them. A simple canopy can protect workers from sun exposure. Sidewalls can reduce wind problems. Fans can improve comfort during summer processing.
Monitoring the weather forecast allows you to prepare accordingly or even adjust processing dates if necessary.
11. Prepare Chicken Packaging Supplies
Packaging is often treated as the final step of processing day, but it should be planned just as carefully as every other stage. I cannot tell you how many times I thought I had leftover bags, only to discover they were all gone. Or a child had played with them and they were now non-existent.
Imagine spending hours processing animals only to discover that you’ve run out of vacuum bags, shrink bags, labels, or freezer tape.
It happens more often than you’d think.
Before processing day, inventory every supply you’ll need:
- Vacuum bags
- Freezer bags
- Labels
- Permanent markers
- Freezer tape
- Twist ties
- Storage boxes
- Kitchen scale
Don’t assume partially used packages contain enough supplies.
Many experienced homesteaders purchase more packaging materials than they expect to use and keep extras stored nearby.
12. Label Meat Immediately
At first, it seems unnecessary. You’ll remember which package contains thighs, breasts, liver, or soup birds.
Until you don’t.
Weeks or months later, many packages look nearly identical in the freezer. Without proper labels, valuable cuts become difficult to identify and inventory becomes nearly impossible to manage.
Every package should be labeled immediately after packaging.
Include:
- Animal type
- Cut
- Date processed
- Weight
- Batch number (optional)
Immediate labeling prevents confusion and makes freezer management significantly easier throughout the year.
Future-you will appreciate the extra thirty seconds spent labeling each package correctly.
13. Don’t Neglect Sanitation Stations
Cleanliness is one of the most important aspects of meat processing. Yet sanitation often receives less attention than equipment and workflow. I can’t tell you how many times I’ve had to stop and tend to one of our kids while butchering chickens. When I have a place I can clean up first, it is so helpful.
Establish sanitation stations before processing begins.
These should include:
- Rubber gloves (if wanted)
- Clean towels or paper towels
- Fresh water
- Tool-cleaning buckets
Regular cleaning throughout the day prevents small issues from becoming major problems.
Sanitation is not about perfection. It’s about consistently reducing contamination risks and maintaining food safety standards throughout the process.
A clean processing area leads to cleaner meat and greater confidence in the final product.
14. Rest and Hydrate Yourself and Helpers
Processing days are physically demanding. Hours of standing, lifting, bending, and repetitive motions take a toll on even experienced homesteaders.
As fatigue sets in, productivity drops. Mistakes increase. Tempers shorten. Injuries become more likely.
Many groups become so focused on finishing that they forget to take care of themselves.
Keep plenty of water available throughout the day. Have easy-to-eat snacks and meals prepared beforehand. Schedule occasional breaks, especially during hot weather if you have a long day of processing.
Hydrated, rested workers maintain focus and efficiency far longer than exhausted ones.
Taking a short break may seem counterproductive, but it often improves productivity for the remainder of the day. It’s a great time to feed your team lunch!
Your helpers are one of your most valuable resources. Treat them accordingly.
15. Clean as You Go
Cleanup is often viewed as a separate task that happens after processing is complete. This mindset creates massive problems.
When waste piles up, tools accumulate, and surfaces become cluttered, efficiency suffers. When it’s hot, bees begin to accumulate on waste that hangs out in buckets, and it just becomes unpleased.
Instead, clean continuously throughout the day. This is a fantastic job for kids if you have them!
Rinse equipment between uses. Empty trash regularly. Remove waste promptly. Wipe down work surfaces often (we spray them down with the hose).
These small maintenance tasks take only minutes but prevent overwhelming cleanup projects later.
By the end of the day, you’ll be tired. The last thing anyone wants is several additional hours of cleaning.
Continuous cleanup keeps the workspace organized, improves sanitation, and makes the final cleanup far less intimidating.
Processing Day Supply Checklist
Before your next processing day, make sure you have:
Equipment
- Knives
- Knife sharpener
- Scalder
- Plucker
- Killing cones
- Tables
- Hoses
- Buckets
- Extension cords
- Shrink bags
- Dish soap
- Rags
- Generator (if needed)
- Radio (because you’re going to love listening to music while processing)
Cooling & Storage
- Ice and ice water
- Coolers or stock tanks
- Freezer bags
- Vacuum bags
- Labels
- Shrink bags
- Permanent markers
Sanitation
- Handwashing station
- Soap
- Paper towels
- Buckets
- Trash bags
- Rubber gloves
- Towels and paper towels
Comfort & Safety
- Drinking water
- Snacks
- Canopy or tent
- Fans
- First aid kit
Frequently Asked Questions
What is the biggest mistake people make on chicken processing day?
The biggest mistake is poor preparation. Most processing-day disasters stem from equipment failures, missing supplies, poor workflow design, or unrealistic expectations.
How much ice or ice water do I need for processing meat chickens?
More than you think. The exact amount depends on temperature and flock size, but having excess ice is far better than running out halfway through the day. Expect to go through 5 bags of ice on the very low side. And 20+ on the higher side.
When should I start processing meat chickens?
As early as possible. Many experienced processors begin before sunrise to take advantage of cooler temperatures and avoid afternoon heat.
How many meat chickens can one person process in a day?
An experienced processor may handle 20–30 birds alone, while teams with efficient systems can process significantly more. Remember, it takes about 8 minutes for a newbie to process 1 bird.
What equipment should be tested before processing day?
Test every major piece of equipment, including scalders, pluckers, vacuum sealers, generators, propane systems, hoses, and extension cords.
How long should chickens be off feed before processing?
Most producers remove feed approximately 8–12 hours before processing while continuing to provide water.
What should I do with chicken organs and offal during processing day?
Separate edible organs (heart, liver, gizzard) into a dedicated ice-filled container immediately after removal. Many homesteaders bag organ meats separately for stock or pet food. Inedible waste should be collected in buckets with tight lids and disposed of promptly to prevent pest attraction. Some processors compost offal in dedicated hot compost systems or bury it deeply away from processing areas.
Can I process chickens in light rain or do I need to reschedule?
Light rain is manageable with proper canopy coverage over critical stations, particularly the evisceration and packaging areas. However, heavy rain creates sanitation challenges, makes surfaces slippery, and can contaminate clean workspaces. If rain is forecasted, ensure you have waterproof covering for at least three stations and that electrical equipment is protected. Processing in light mist is far better than rescheduling if birds are already off feed.
How long should processed chickens chill in ice water before packaging?
Whole chickens should chill in ice water for a minimum of 4 hours, though overnight chilling (12-24 hours) significantly improves texture and allows rigor mortis to pass. This extended chill time makes the meat more tender and easier to package. Some processors chill birds for 24-48 hours in refrigerated conditions, which produces noticeably better meat quality than immediate packaging.
What’s the best way to sharpen knives during processing without stopping workflow?
The knife rotation system prevents workflow interruption entirely. Keep three sharpened knives at different stations and rotate them every 5-10 birds. When a knife dulls, swap it for a fresh one and sharpen the dull blade during a natural break. A honing steel provides quick edge maintenance between full sharpenings, and many processors keep a wet stone at a sanitation station specifically for mid-day blade restoration.
Should I separate roosters and hens during processing or does it matter?
Separating by sex during packaging helps with inventory management and meal planning since roosters typically yield slightly more meat and different fat distribution than hens. However, during the processing workflow itself, mixing sexes causes no problems. Some homesteaders label packages as “rooster” or “hen” for culinary purposes, as older roosters may benefit from longer cooking methods while hens often remain more tender.
Final Thoughts: Processing Day Is Won the Days Before
Most people think processing day success depends on what happens after the first bird is harvested.
In reality, processing day is usually won—or lost—the week before.
The sharp knives, tested equipment, organized stations, stocked coolers, prepared helpers, and carefully planned workflow all determine whether the day feels smooth and productive or stressful and chaotic.
Take the time to prepare now.
Your future self, your processing crew, and your freezer full of high-quality meat will thank you for it.
MOST IMPORTANT INSIGHTS TO REMEMBER
#1 Equipment testing 24-48 hours before processing prevents the most common cause of processing day failure, as discovering malfunctioning scalders, pluckers, or vacuum sealers after birds are harvested creates cascading problems that waste hours and compromise meat quality.
#2 Feed withdrawal 8-12 hours before processing with continuous water access creates the single biggest improvement in evisceration cleanliness by allowing digestive tracts to empty, reducing contamination risks and making the entire process significantly less messy.
#3 Processing during early morning hours (starting before or at sunrise) exploits the coolest temperatures of the day, reduces ice requirements by up to 40%, decreases worker fatigue, and ensures the majority of work is complete before afternoon heat arrives.
#4 Ice requirements follow the formula of 1-2.5 pounds of ice per pound of bird weight depending on ambient temperature, with most homesteaders needing to purchase 50-100% more ice than initially estimated to maintain proper cooling throughout the entire day.
#5 Workflow organization in a single-direction assembly line from harvest through packaging eliminates unnecessary movement and cross-contamination risks, with each station positioned 3-8 feet from the next and clean areas permanently separated from processing zones.
Other posts you may enjoy:
- The Two-Breed System for Year-Round Meat Chicken Breeding
- Broiler Chicken Breeds: 16 of the Best Meat Chickens
- 16 Sick Chicken Symptoms & Sick Chicken Treatments
- How Much Feed Do Chickens Eat?
- Easy Steps to Raising Meat Chickens
- How to Make and Pressure Can Chicken Bone Broth (with video)
- Homemade Chicken Pot Pie with Rustic Crust