I have some friends that are absolutely terrified of hatching chicken eggs. And rightfully so. They probably didn’t have this incubating chicken eggs 101 blog post when they got started, duh! I hear the horror stories all the time on farm forums and facebook pages. The best hatchers have their own horror stories — and they are the best because they have learned from their own mistakes and made sure they didn’t make them again. The best hatchers also understand that just because they’ve done this 100 times, it doesn’t mean everything is always going to go perfect in the end. That’s just the risk you take when trying to play “God”.

Let’s get started with incubating chicken eggs 101.
First and foremost, don’t freak out. Take a really deep breath before starting.
Next, do your research. If you don’t already have an incubator, don’t just take the cheap route. I took the cheap route, and thankfully it has turned out fine with some tweaking. However, might I suggest the Hovabator Genesis, as it automatically measures temp and humidity for you.
Otherwise, we, personally, have a Little Giant still air incubator. I’ve grown to love it. We do not use an egg turner and we do not use a fan.
There are two different types of incubators — still air and forced air.
A Still Air Incubator (SAI) is normally a styrofoam incubator that does not have a fan to circulate air inside of it. This means that there can be uneven temperature readings throughout the incubator when hatching. It’s the same concept as a regular oven and a convection oven. One has a fan, the other doesn’t. The fan helps circulate the warm air so that the temps are even through out the entire incubator. A still air incubator does not have a fan.
A Forced Air Incubator (FAI) has a fan. It can also be a styrofoam or other form of incubator. You can also buy fans for your still air incubators. The fan allows the air to move about so that temps are even, thus heightening your chances of all chicks growing at the same rate and all eggs pipping simultaneously. Cold and hot spots in your incubator will not be a problem.
With that said, there have been many times when we’ve had 95%-100% hatch rates with our still air incubator. So it’s all in preference and what helps ease your mind.
Other posts you might enjoy:
- 10 Easy Steps to Start Raising Chickens
- How to Preserve Chicken Eggs
- How to Make a Farm Fresh Frittata
- 3 Common Chick Illnesses and How to Naturally Prevent and Treat Them
- A Guide to Buying Baby Chicks
Find all of my posts about chickens by clicking here
Incubating Chicken Eggs 101
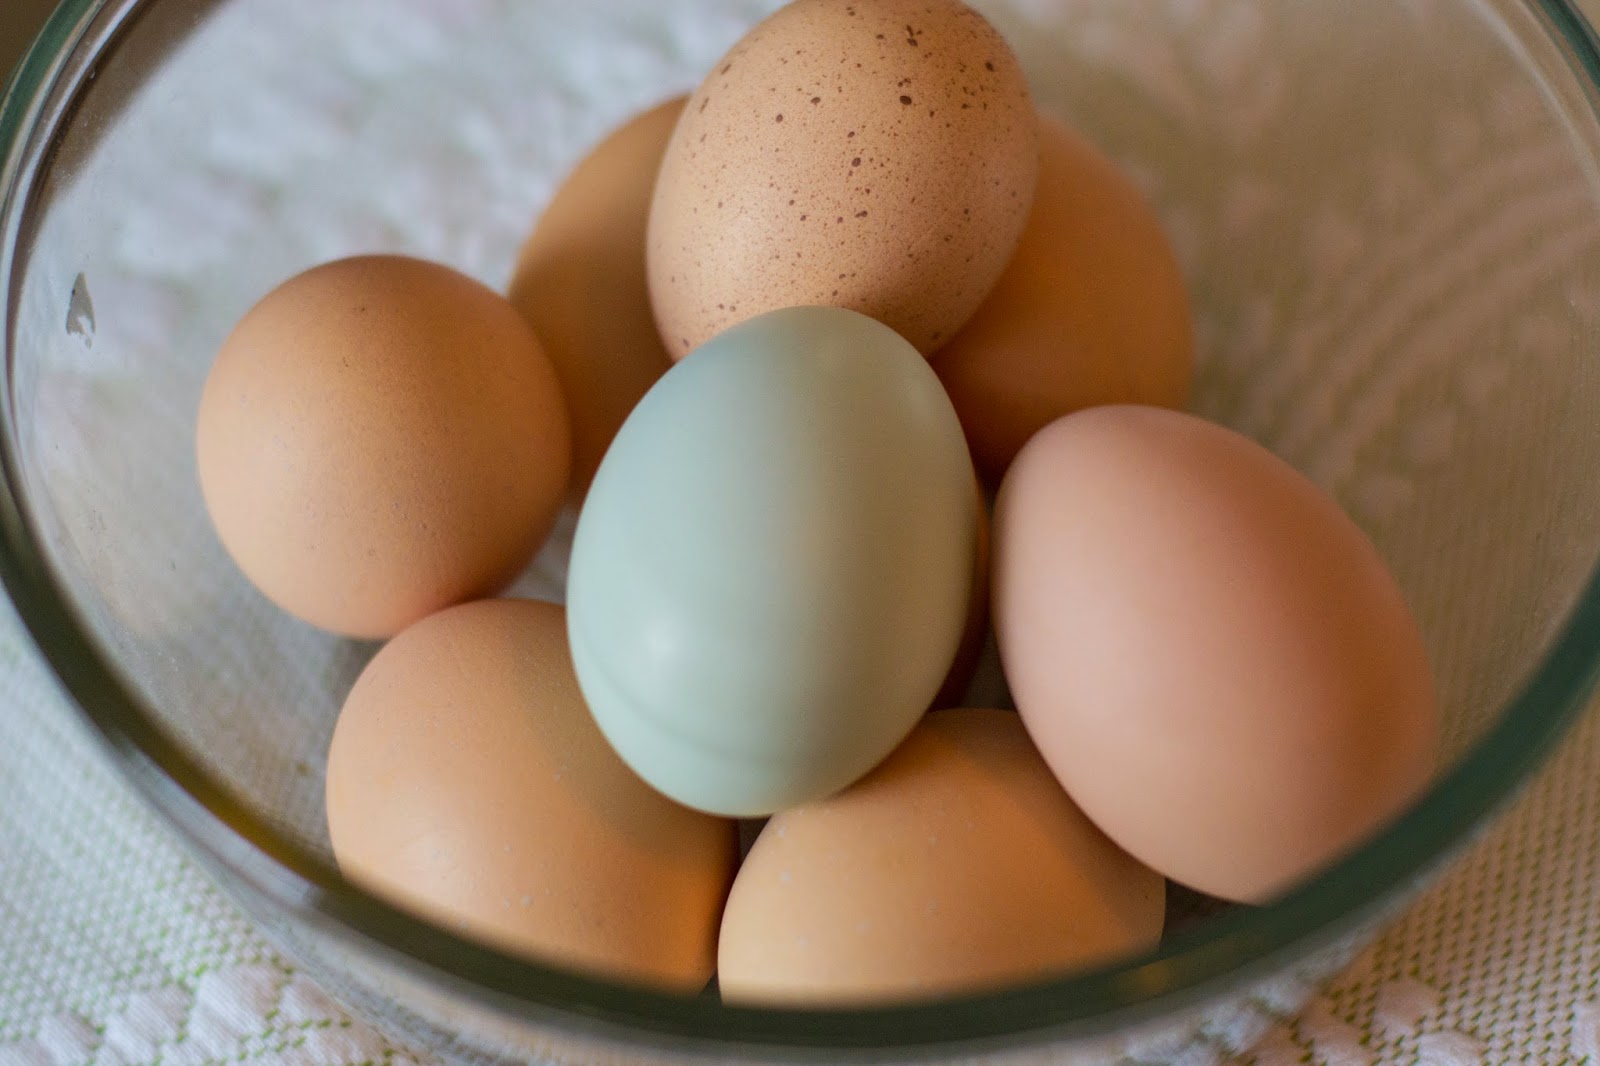
1. Select quality eggs.
If you are using your own eggs, make sure you choose the larger, more rounded eggs for incubation. Avoid eggs with extra pointy tops or eggs that are porous. Porous eggs can be found by candling before incubating. You’ll see little spots on the eggs during candling. If they are extremely porous, do not use them (photo to left). Porous eggs allow bacteria into the shell and can cause the chick not to grow, or worse, kill it after it has started growing. With that said, I’ve had plenty of porous eggs hatch just fine.
If you are purchasing your eggs from a breeder or hatchery, you’ll need to let them rest (fat end up) for 8-12 hours before placing them in the incubator. You will also need to candle them beforehand so that you can make sure the air sac at the fat end of the egg is still attached. If it is not, the chick will not hatch.
Whether your own or purchased, eggs can sit on the counter for up to one week (fat end up). After that week, fertility begins to diminish.
2. Invest in a digital Temp/Hygrometer gauge.
The temp and humidity gauges that come with incubators are generally never dependable unless you have a digital measuring incubator. Therefore, we use a reptile gauge that determines temperature and humidity at the same time within the incubator. The best part is that I can set the screen on top of the incubator and see it from across the room rather than having to look inside the window whenever I need to check temp/humidity (the sensors go inside the incubator). We use this one. If you are using a SAI, you need to place the sensors on top of the eggs in the center of the incubator. If you are using a FAI, you can place them anywhere in the incubator, but preferably the center.
3. Determine the type of incubator system you want.
Do you want a turner, or will you manually turn? Do you want a SAI or a FAI? Either way, your eggs will need to be rotated 2-3 times a day. If you have a turner, you simply need to make sure the turner is working (daily). If you don’t have a turner, I generally flip the eggs over twice a day (morning and evening), and sometimes 3 times a day (morning, afternoon, evening).
4. Pre-heat your incubator.
Set your incubator up 24-48 hrs before placing eggs inside of it. Please keep in mind that whenever you adjust the temperature dial on a non-digital incubator, it can make a very large adjustment. Even the smallest adjustment can be detrimental to your eggs. Make sure your temp is set and has remained set for at least 12 hours before placing the eggs inside. When you place your eggs inside, it will take at least 1-2 hours for the temps to rise where they should be once again. Make sure you are home during this time so that you can make sure the temps don’t rise too much.
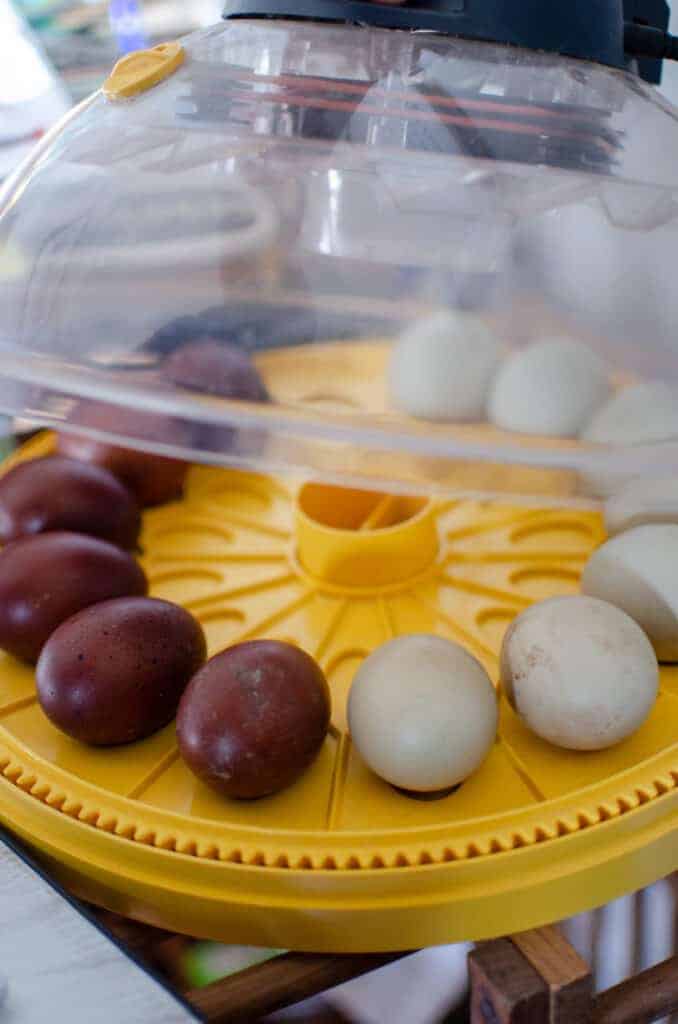
5. Mark your eggs and place them in the incubator.
Now that your incubator is set up and your eggs are ready, you need to place them in the incubator. Place an X on one side of the egg and an O on the other. This will assure you that your turner is turning properly, or will remind you which eggs you have turned manually and which eggs you have not.
If you are not using a turner then make sure your eggs are either laying naturally in the incubator, or that they are setting in an egg carton (so that they don’t roll around). I like to set my eggs on their sides in an egg carton (6 per carton) with fat end slightly raised. You will need to take the eggs out of the carton (or turner) on lock-down day (day 18) so that they do not get stuck or trapped when trying to hatch. Once the eggs are set, allow 1-2 hours for the temps and humidity to regulate. If your humidity is too low after placing the eggs in (1-2 hrs later), then add just a tiny bit of water to the water wells in the bottom of your incubator at a time until the humidity rises.
Temperature for hatching chicken eggs is 99.5. It will fluctuate 1-2 degrees at a time. Don’t freak out or over adjust the dial. Once your eggs are set, and temp is set, you shouldn’t have to touch the dial again unless the temperature in your house changes dramatically (for example, you use a woodstove in the winter, or don’t have AC in the Summer). Do not let your incubator rise above 101 or below 97 degrees. We have had this happen and they have been fine, but lower temps will cause a stunt in growth at times, and higher temps can cause death.
Humidity levels for hatching chicken eggs is 45-50% on days 1-18, and bumped up to 65% on lock-down day (19 to hatch day). Humidity levels will also fluctuate, but just make sure they aren’t 10% above or below what they should be.
6. Take a deep breath and relax.
Chances are you’re going to open that lid and freak out more often than not. Don’t do that. The number one mistake people make when hatching the first few times is bothering the eggs, opening the lid, and moving their temp dial too often. If you ever think something isn’t as it should be, wait a little while to see if it sorts itself out. Then change it yourself if it doesn’t.
7. Candling on days 7, 14 and 18.
Many people choose to candle their eggs to make sure they are viable. Most candlings are on day 7, 14, and 18. I, personally, candle on day 3 (because I can’t help myself), 14, and 18. If I don’t see anything on day 3, I will do day 7 as well. On day 14 if there is no growth, toss that particular egg out. Otherwise, you could risk the chance of it bursting in your incubator and contaminating your other eggs.
Here is a video of a day 10 candling of our Icelandic Chicken Eggs. I had forgotten to video day 7 candling on these eggs. Forgive the quality!
8. Lock-down day.
The day has come. On day 18 of incubation, remove the eggs from the turner or egg carton and place them laying naturally in the incubator on top of the grate. Place a thin (breathable) dish towel or rubber kitchen shelf liner on top of your incubator grate and set your eggs on top of the towel/liner so that the eggs don’t roll around when hatching. I actually prefer paper towels. Close the lid and do not touch the incubator again until the chicks begin hatching. Do not turn the eggs anymore. Make sure you remember to bump the humidity up to 65%,.
9. Hatch Day.
It’s finally hatch day — FINALLY! You’ll begin seeing little pips in the eggs. Eggs can pip 24 hrs before ever hatching. DO NOT OPEN THE LID. Typically, you should allow the chicks to hatch and completely dry off before taking them out of the incubator. Many people allow all of the chicks to hatch before taking any of them out, however, we don’t do that. We always leave at least 2 chicks in and take the rest out after they have dried off if there are still more eggs to hatch.
You may find that the humidity rises as the chicks hatch. If absolutely necessary (especially if condensation begins appearing on the window of your incubator) then you can take some of the water out of the bottom of the incubator. However, it should not rise too much if you have been consistently only adding little bits of water at a time. If you prefer, you can just use a wet sponge during incubation so that you don’t have to worry about putting water in and out of the wells.
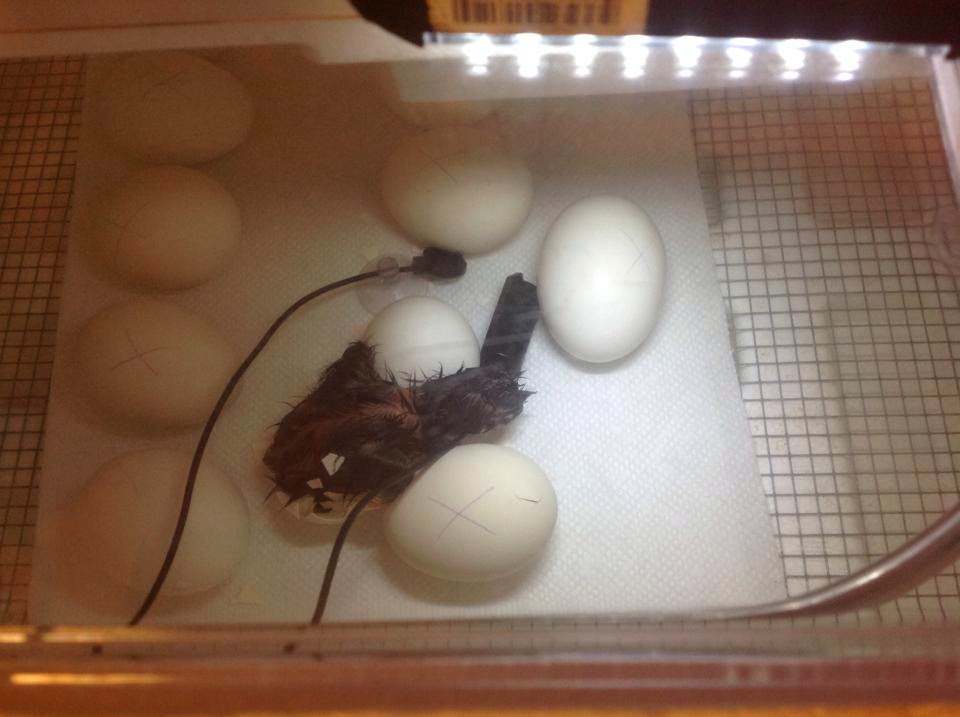 |
| A chick has hatched and several have pipped in this photo above. |

10. Clean up time.
Your first hatch is finally done. After all the chicks have hatched, you need to make sure you have a brooder set up for them with either an Ecoglow or a heat lamp. I highly suggest the ecoglow, especially if you are using them indoors. However, we often use a secured heat lamp, especially if we are using the outdoor brooder.
You can clean out your incubator with a white vinegar/water solution, or a simple bleach/water solution. Either works well. Sometimes bleach just seems “better” because it is completely sterile. It is your preference!
In the end, it’s actually pretty simple and easy. The key is not to over check your eggs or open the lid often. The next key is not to mess with your temp dial constantly, otherwise you’ll never have a steady temp. Your incubator temps will fluctuate, and that’s ok. You have to remember that momma hen gets off the nest at least twice a day to eat, drink, and expel feces. In the hottest parts of summer, momma hen can even leave the nest for more than an hour if the temperature is hot enough. Temps fluctuate often, but keeping a steady temp (only fluctuating 2 or so degrees at a time) with a median temp of 99.5 is perfect.
Most of all, have fun with it! Go in with the idea that bad things can happen, but so can good things!!