• Home
  • Membership
  • Shop
  • Cart
  • Our Farm
  • Gut Health
  • Herbal Practice
  • Buy Trusted Supplements
  • Nav Social Icons

  • Skip to primary navigation
  • Skip to main content
  • Skip to primary sidebar
  • Skip to footer
  • Home
  • Blog
  • About Me
  • Our Farm
  • Gut Health
  • HH Membership
  • My Books
  • Youtube
  • Podcast
  • Homesteading
  • Chickens
  • Herbs
  • Family
  • Farmhouse
  • Homemaking
  • Recipes
  • Sourdough
  • Contact Me
  • Herbal Practice
  • Buy Trusted Supplements
  • Mobile Menu Widgets

    Search

    Connect

Amy K Fewell | Homesteading for the Kingdom

Amy K Fewell | Homesteading for the Kingdom

  • Start Here
    • About Me
    • My Books
    • Podcast
    • Youtube
    • Gut Health
  • Blog
    • herbs
    • Bees
    • chickens
    • rabbits
    • Farmhouse
    • gardening
    • devotional
    • homemaking
    • sourdough
    • recipes
  • Courses & Books
    • HH Membership
    • My Books
  • herbs
  • Podcast
  • Contact Me

Making Sourdough Bread: How to Get Started

June 17, 2021 · In: recipes, sourdough

Sourdough bread is one of the oldest and most well-loved leavened breads. Making sourdough bread and sourdough bread starter does not require the use of any commercial yeast. Instead, it uses wild yeast and lactic acid bacteria (more on this in a bit) to cause the bread to rise. This makes sourdough a unique, delicious, and sustainable bread option.

Sourdough does take longer to make than other types of bread, simply because the starter takes about a week to ferment, and rising time takes longer. However, once your sourdough bread starter is active, you can make bread anytime you like!

I can remember the very first time I tried to make sourdough. And the second, and third, and sixth. I just couldn’t get my sourdough starter to activate. Once I started making my very own starter from scratch, and had the proper method and equipment, it made a world of difference.

So, what do you need to know when you are getting started with sourdough?

Equipment for Making Sourdough Bread

The equipment and tools for sourdough can be changed a little according to what you have in your kitchen. Take these suggestions and look around to see what you have to work with.

  • Large Jar or Crock

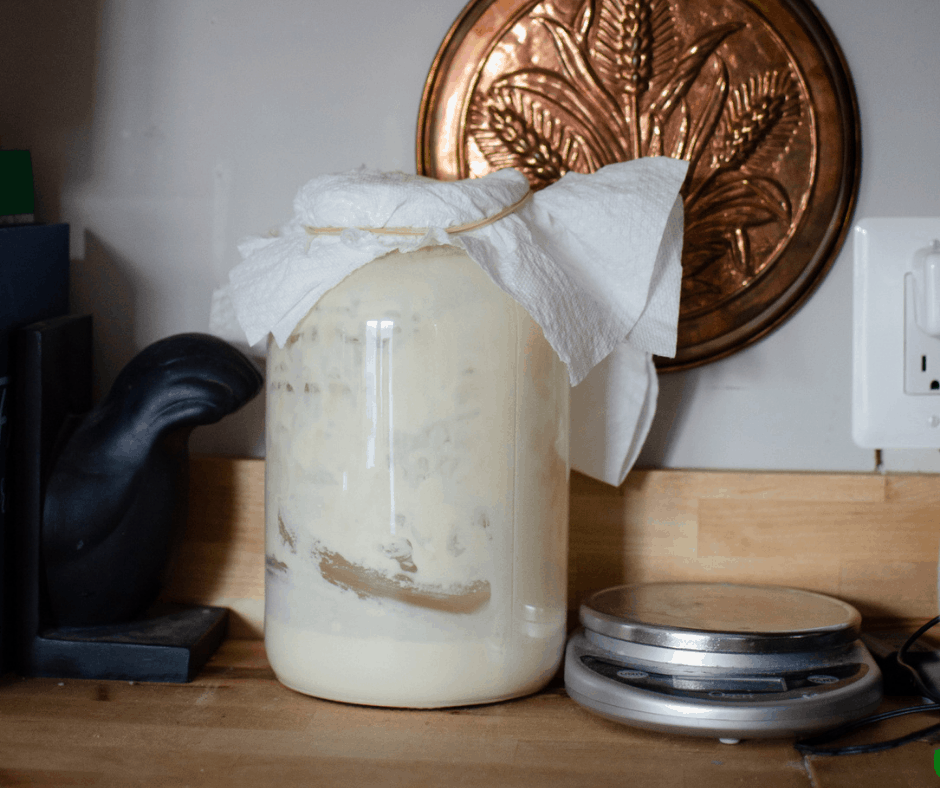
You will need a glass jar in which to build your sourdough bread starter. A quart sized mason jar is preferred. The active sourdough starter can be stored in a quart sized mason jar or in a sourdough storage crock. 

  • Lids

The lid for your storage jar can be a piece of cloth, loose plastic wrap, a paper towel, or a latch-top lid. You don’t want to use a lid that is air-tight because the starter could build up too much pressure and break the jar. It can also cause the sourdough starter to not activate (or stay activated) as well.

  • Rubber Band

Place a rubber band around the starter jar to measure its growth. You simply place the rubber band around the jar at the same level as your starting point when you make your starter. Then, as the starter rises, you can see just how far it has risen above the rubber band.

  • Proofing Baskets

Proofing baskets allow the dough to rise and take shape. Without a proofing basket or bowl, your dough would spread out and flatten instead of rising up. Most of these baskets are a basket that’s lined with a sewn or tied-in cloth.

If you don’t have a proofing basket, you can use a glass bowl with a floured tea towel placed inside.

  • Bench Scraper

A bench scraper (sometimes called a bench knife) is needed to divide and shape the sourdough. This just makes the dough easier to work with, and cut.

  • Rubber or Silicone Spatula

A spatula is used to mix the starter and to clean the sides of the mixing bowl when making sourdough bread.

  • Kitchen Scale or Measuring Cups

If you are using a recipe that uses grams, you will need a kitchen scale to get the measurements correct. If your recipe uses cups and tea/tablespoons instead, you can simply use the measuring cups that you have on hand. Many sourdough recipes call for scale measurements.

  • Bread Lame, Sharp Knife, or Razor Blade

Just before popping your sourdough in the oven, it will need to be scored. To do this, you will need a sharp knife (paring knives work well), a bread lame made specifically for scoring, or a razor blade.

  • Dutch Oven, Cast Iron Skillet, or a Loaf Pan

When making sourdough bread you can use either a dutch oven with a lid, a cast iron skillet with a lid, a baking stone, or a loaf pan to hold your loaf in the oven. 

The options with lids hold in steam and allow the bread to rise a little more before beginning to bake.

  • Mixing bowl

A mixing bowl is needed when you are combining your sourdough bread starter with additional ingredients to make a loaf of sourdough bread. 

  • Serrated Bread Knife

Use a serrated bread knife to cut into the finished sourdough bread loaf.

The Science Behind Making Sourdough Starter

To make your own sourdough starter, you mix flour with water and then you wait. Seems simple enough, right? There is actually a complex science behind WHY this process works to make such a delicious product. 

When the flour is mixed with water and left out in the open, the wild yeast that is on the flour and in the air start to feed off of the sugars within the flour. 

Sometimes harmful bacteria will try to grow during this time, but thankfully the mix quickly begins to produce lactic acid bacteria. Lactic acid bacteria lowers the pH of the starter enough to kill off the harmful microbes.

The wild yeast and lactic acid bacteria are now in a symbiotic relationship. They both kill most other microbes that try to grow in the starter, but they tolerate each other well. 

The yeast converts sugars to carbon dioxide which levens the dough (fermentation). And the lactic acid bacteria produces lactic acid which gives sourdough its signature sour taste. 

Setting Up a Sourdough Starter Station for Storage

When you are preparing to store your active sourdough starter you will need to take a few things into consideration:

 1. Temperature- If you plan to make bread every week, you will want to store your starter between 70-75 degrees F. A warmer temperature increases the fermentation rate so the starter will continue to grow quickly each week. Thi starter will need to be fed daily.

If you do not plan to make bread each week, you can store the starter in the refrigerator. The cooler temperature in the fridge slows the fermentation process so it won’t grow more than you need it to. Refrigerated starters will need to be fed weekly.

 2. Location- Don’t store the sourdough starter near any other ferments as this can cause cross-contamination. It is best to keep ferments 4-5 feet apart.

 3. Hydration- More hydration=more fermentation. If you need to store a sourdough starter without planning to bake with it soon, you can dehydrate it to store it long-term.

 4. Lid Type- Store your starter in a jar or other container with a lid that is not air-tight. A piece of cloth or a paper towel with a rubber band works great as a sourdough starter lid. 
Easy Sourdough Pie Crust

How to Use Sourdough Bread Starter

When you have your active sourdough starter, you can start using it to make tasty treats for your family!

As long as you don’t use up all of your starter, it will last (potentially) forever. You can even pass it down to your kids and grandkids!
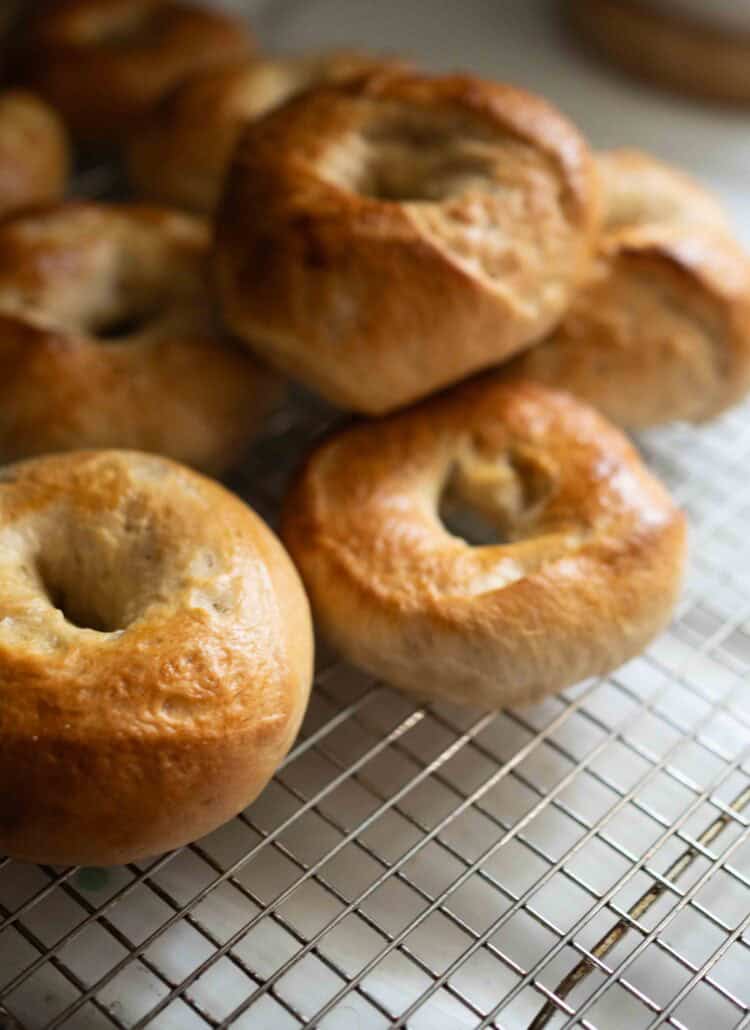
Use these simple sourdough recipes to use sourdough bread starter:

  • Homemade Sourdough Starter
  • Sourdough Pizza Crust
  • Dehydrated Sourdough Starter
  • Homemade Sourdough Bread Recipe
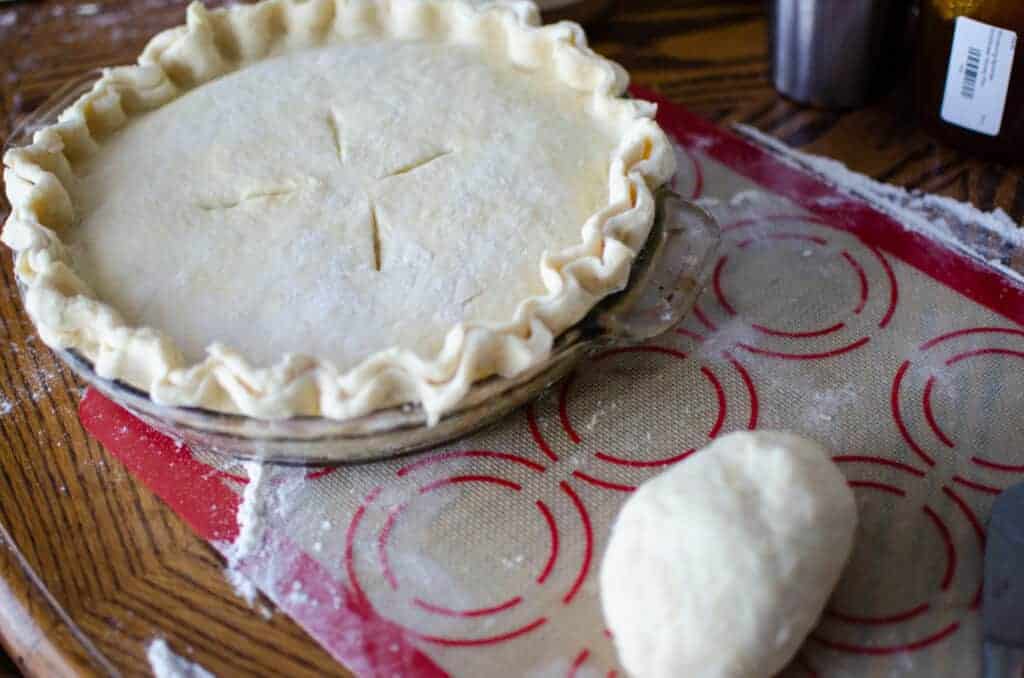
  • Easy Sourdough Pie Crust
  • Traditional Sourdough Pancakes
  • Long-Fermented Sourdough Dinner Rolls
  • Sourdough Biscuits

By: Amy K. Fewell · In: recipes, sourdough · Tagged: recipes, sourdough

you’ll also love

Sourdough Bagels with Perfect Chewy Crust
Homemade Fire Cider | Sometimes it Works, Sometimes it Doesn’t (plus recipe)
How to Make Homemade Herbal Chapstick

Reader Interactions

Comments

  1. Christine says

    November 23, 2022 at 10:26 pm

    Thanks for the awesome recipes. Haven’t made sourdough bread in years. Reading this may get me baking again. Thank you.

Next Post >

Bits of Wisdom | The Word of God is Not Oppressive

Primary Sidebar

meet amy

meet amy
hello!

I'm Amy. I love organic food but I love cookies too. I love Jesus and His grace. I believe broken people make the biggest impact in the world when Jesus makes them whole, and when they share their stories. I believe in stories, and I'm sharing mine.

Read More

Connect

Search

Ads & Sponsors

200x400

Advertise

Follow Along

@amy.fewell

This… This…
Day 485 of healing my body after baby number 4. It Day 485 of healing my body after baby number 4. It’s a journey, especially running on 3-4 hours of sleep every night with only a partially weaned baby. But, nevertheless, it is. Thankfully I can support my body through it, and you can too! 

This nourishing herbal infusion brings together herbs that support the body through stress, hormonal changes, inflammation, and digestive discomfort.

I add ½ to 1 tablespoon of each dried herb to my infusion teapot, pour hot water over the herbs, cover, and allow them to steep before straining. You can drink 2-3 cups per day. This little tea pot makes about 3 normal sized coffee cupfuls of tea.

• Rose supports the nervous system, uplifts the mood, and gently nourishes the heart and reproductive tissues during hormonal transitions.

• Stinging nettle provides nutrient-rich support with iron, calcium, magnesium, and other trace minerals important to the endocrine system.

• Lemon balm calms stress-related tension while supporting healthy digestion, mood, sleep, and thyroid function.

• Peach leaf is traditionally used as a cooling, moistening herb for heat, irritation, nausea, and nervous tension that may accompany hormonal changes.

• Turmeric supports a healthy inflammatory response, liver function, digestion, and the body’s metabolism and elimination of hormones.

• Peppermint cools excess heat and supports digestion, liver function, mental clarity, and relief from occasional nausea or headaches.

This is a beautiful example of how herbs can nourish multiple systems at once—the nervous, digestive, endocrine, and reproductive systems—while also supporting the body’s foundational nutritional needs.
In a world that is increasingly fake, uniqueness a In a world that is increasingly fake, uniqueness and the ability to be known by something deeply personal, such as your name, is important. This seal says “House of Fewell”. Because as we move into the times ahead, you’ll be known in your community by which “house” you’re from (I’ll write about this more soon). Not just your family name, but the house of Yahweh. 

So, I thought I’d start a new family tradition. Bring back the signet and wax seals.
Two people can both tell you they have “poor circu Two people can both tell you they have “poor circulation” and need completely different herbal approaches.

One may be pale, chilly, sluggish, have cold hands and feet, prefer warm food, and feel considerably better when the weather warms.

Another may flush easily, run hot, dislike summer heat, become restless when overheated, and notice inflammatory complaints worsening with warmth.

The complaint may be the same, but the pattern is not.

In traditional Western herbalism, Heat/Excitation represents excessive activity. We may observe warmth, redness, flushing, irritation, restlessness, a more active pulse, and blood tending toward the surface.

The herbal direction may include cooling, calming, relaxing, or moderating herbs such as yarrow, rose, lemon balm, hibiscus, hawthorn, and elderflower.

Cold/Depression represents insufficient activity. We may see pallor, cold hands and feet, sluggish peripheral circulation, low energy, slower digestion, worsening with cold, and improvement with warmth or movement.

Here we may consider warming and stimulating herbs such as ginger, cayenne, rosemary, cinnamon, angelica, and historically sassafras.

But this is where herbalism requires more than matching symptoms to herbs.

Cold hands do not automatically mean Cold/Depression. Tension and constriction can also restrict blood flow to the extremities. Likewise, heat can exist alongside stagnation.

One symptom does not make a tissue state.

Instead of asking:
“What herb improves circulation?”

Ask:
"What is the blood actually doing—and why?"

Is the person hot or cold? Tense or relaxed? Stagnant or moving freely? Dry or damp? Depleted or robust?

Once we understand the direction of the pattern, we can begin choosing herbs much more intelligently.

Part Two of my "State of the Blood" series is now available inside the Homestead Herbalist membership.

🌿 Comment LESSON and I'll send it to your inbox!
Reach out! 🇺🇸 👩🏻‍🌾 Reach out! 🇺🇸 👩🏻‍🌾

Footer

Learn More

Chickens
Homemaking
Herbs
Recipes
Devotionals

Info

About
Contact
Privacy Policy
Shop

stay in the know

Copyright © 2026 · Theme by 17th Avenue