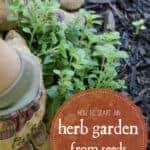
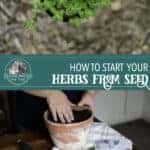
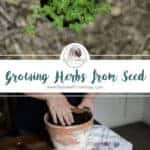
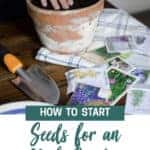
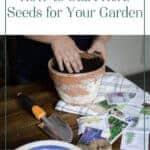
When you want to start an herb garden, it can be intimidating learning how to start herb seeds from start to finish. So many times we start seeds and they simply don’t grow. But with a few simple steps, herb seeds are easy to start indoors before spring arrives.
Whether you’re planing an entire garden full of herbs, or just a set of herbs for your kitchen, anyone can start herbs from seed! Let’s break it down step by step.
When To Start Herb Seeds
Every single region of the country has a hardiness zone. You’ll need to look and see which hardiness zone you’re located in before planting.
If you’re starting herb seeds indoors, the general beginning of herb life is in the late winter months when you begin your other seedlings for the garden. This is usually about 6-8 weeks before your last frost date.
If you’re directly sowing your herb seeds into the ground, wait until the danger of frost has passed in the early Spring. You can also sow your herb seeds into the ground right before the ground freezes in the late fall and cover with a thick layer of straw or mulch. I’ve had some luck with this method in years past, but starting seeds indoors is always more efficient.
Where to Start Herb Seeds
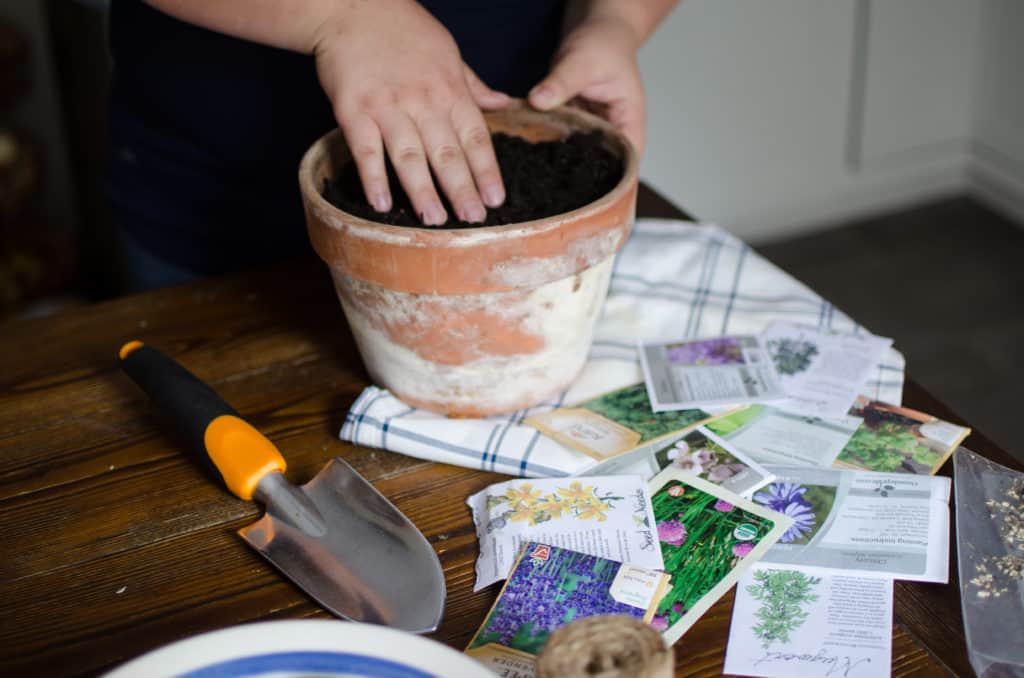
You’ll have several options for where to start herb seeds. You’ll need to begin with a good container, like a peat moss biodegradable container or plastic 2” to 4” containers. You can also plant your herbs in soil blocks, though I find the containers do just as well.
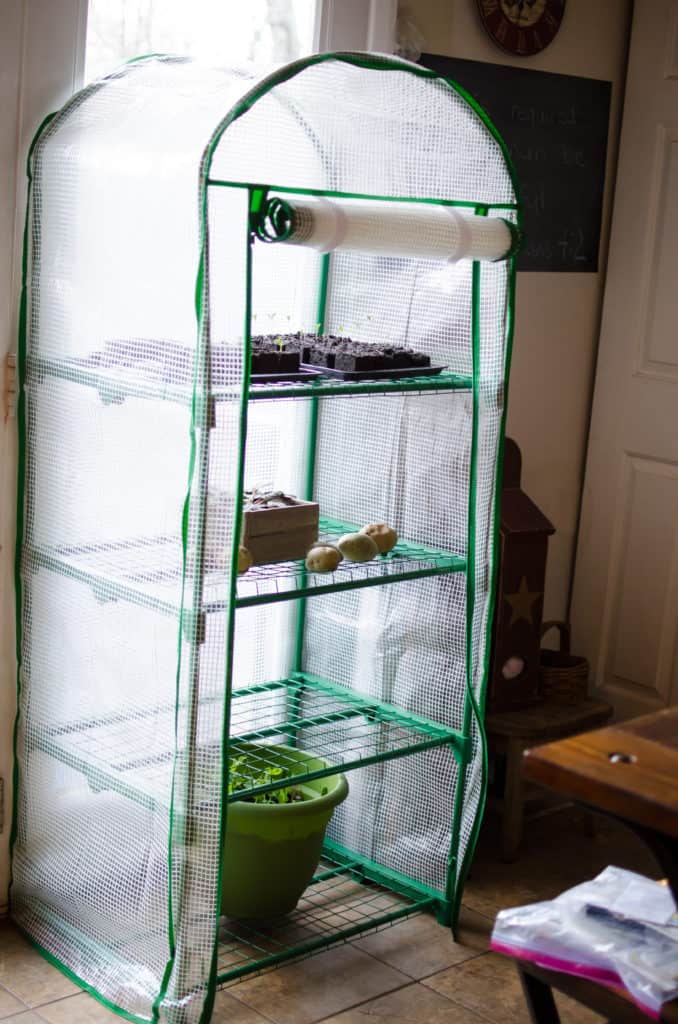
I like to begin my herbs in a small indoor greenhouse. My personal greenhouse is just made of metal tubing and a plastic covering with 5 racks that I got from my local farm store. The bonus is that this greenhouse, when open in the summer, can act as a drying rack for herbs. It is well worth the small investment.
Because the winter daylight isn’t as strong, and also because we heat strictly by wood, a small indoor greenhouse in front of a window that receives good light most of the day is essential. My indoor greenhouse is on wheels and takes up very little space. This allows me to move it about with the sun during the day. However, if you don’t have ample sunlight, grow lights may be needed for your herb starts.
If you wish not to use a greenhouse, you can simply place your newly planted herbs in front of a window. Covering them with plastic wrap for the first few days allows the seeds to germinate more quickly, keeps the moisture in, and creates a greenhouse like effect. Eventually, the plastic will need to come off, but the longer you can keep it on, the better. It creates a mini-permaculture system in your container while your seed grows.
Be sure not to overwater your seedlings, but maintain a moist soil through the entire germination process. Watering from the bottom up is essential
How to Start Herb Seeds
Don’t worry, the process is pretty painless. The seed starting, that is. Be prepared to lose a few startings. Not all seeds germinate, let’s just get that out there. This is just real life. If you can brace yourself now, you won’t feel like much of a failure later.
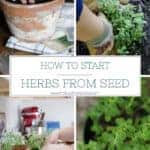
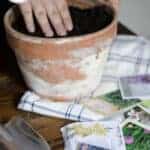
Step 1: Choose your container
I like to begin with a 4-inch container. A peat moss or plastic container works great. You can even re-purpose styrofoam or plastic solo cups. Just make sure all containers have holes in the bottom for good drainage.
Step 2: Add Your Dirt
Add your potting mix (like my homemade potting soil) into the planter container, about ¾ of the way. Place 2 seeds into your cup (spaced out). Sprinkle a thin layer of soil over the seeds and press lightly.

Step 3: Make a Greenhouse
Now that your seeds are planted, cover your containers with plastic wrap or place them in your indoor greenhouse. Covering your containers with plastic wrap will generate a greenhouse like effect if you don’t have a greenhouse available to you. It traps moisture and warms the soil in the container.
Step 4: Give Them Sunlight
Place your containers in a tray (baking sheets work!) next to a window that gets direct sunlight during the day. You can move your containers with the sun if necessary. If you don’t have good sunlight in your home, you’ll need to invest in grow lights.
Step 5: Water Those Babies
Keep your soil moist, but never over water. Water directly from the bottom of the container by filling your tray with water and allowing your soil to soak up the water naturally from the drainage holes. This cuts back on mold and mildew issues, and also mimics nature, allowing your root system to grow stronger.
Your herbs will begin to peek their little green heads out of the soil in 1 to 2 weeks. Make sure you keep your soil moist, but not saturated. Watering from the bottom up is extremely important for any plant that you’re trying to grow from seed.
If You’re Direct Sowing Your Seeds
If you’re directly sowing your herb seeds into the ground, you’ll need to wait until danger of frost has passed. As mentioned before, you can absolutely toss some seeds into the ground and cover them heavily in the late fall or early spring with mulch or straw. Just remember to pull back the thick layer of straw that you put over it once the weather begins to even out.
For seeds that can be sown directly into the soil in the spring months, the concept is slightly the same.
Step 1: Make sure your soil is fertile and ready to be planted into. Loose or freshly tilled soil is best.
Step 2: With a stick or garden tool, draw a line for your rows in the dirt. If you’re just randomly sowing into the dirt, you can sprinkle the seeds about over the ground space you’ve chosen.
Step 3: Add your seeds, leaving little spaces according to package, to the dirt. Then, sprinkle a little potting mix or dirt over the area you’ve just seeded.
Step 4: Water thoroughly and cover with a thin layer of mulch. Keep soil moist until seeds begin to sprout, then simply water regularly.
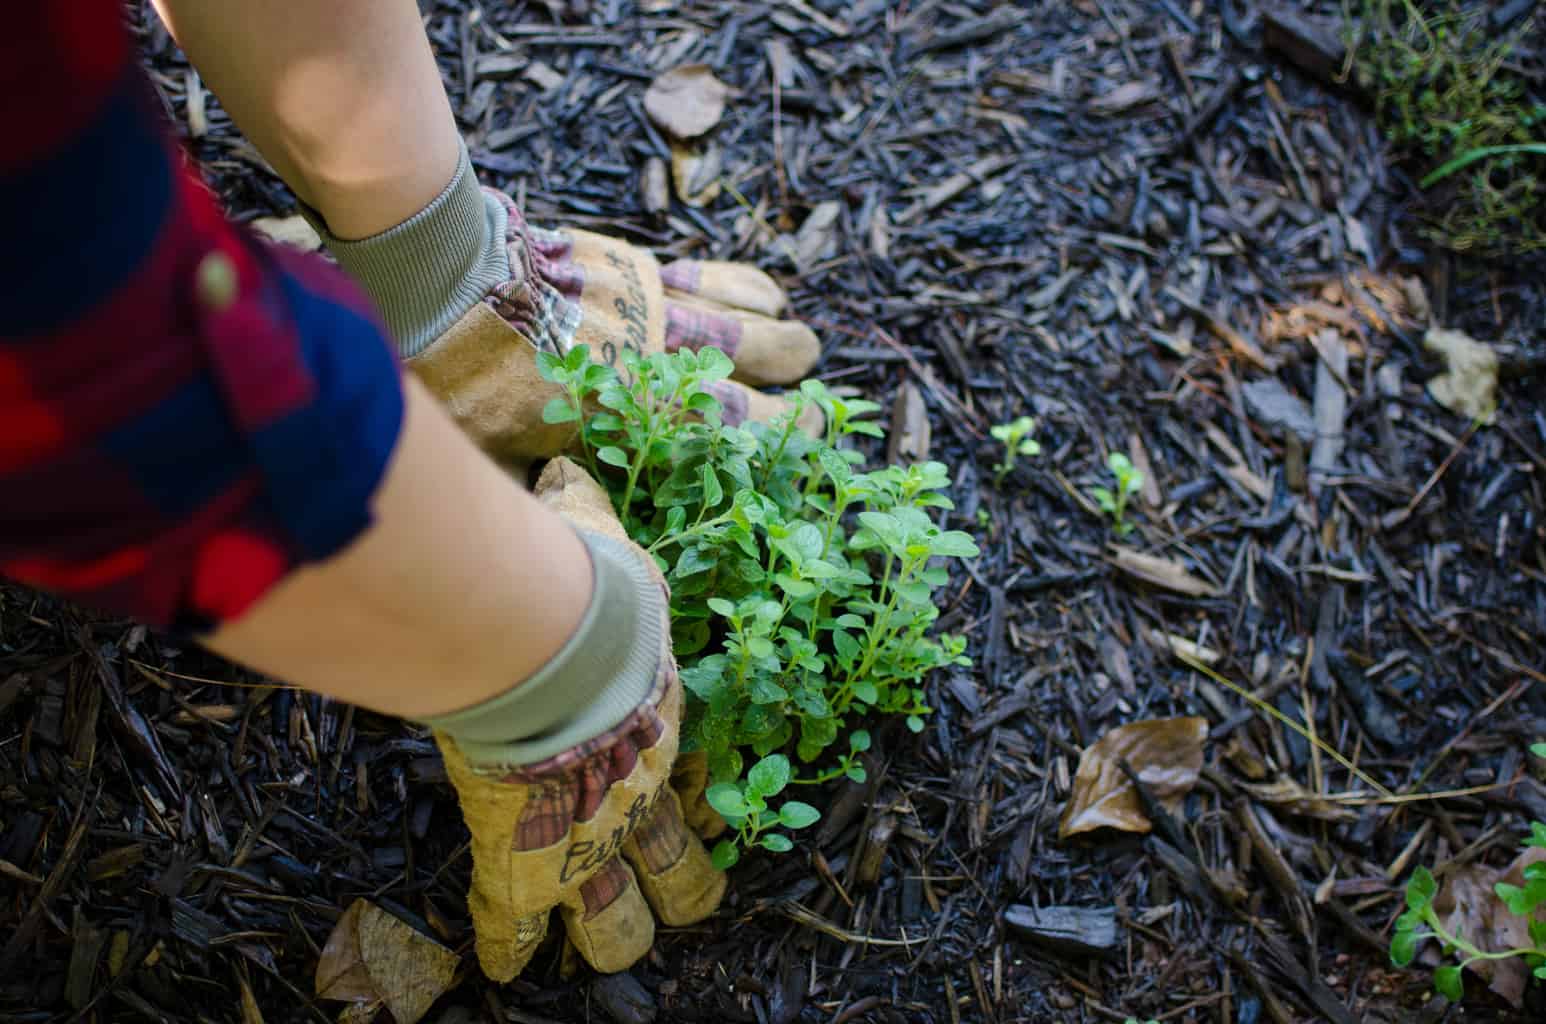
And that’s it! You’re done! You have officially and successfully planted your herb seeds. I encourage you to start herb seeds this year, because you will ultimately growing bigger and stronger plants since they will adapt more quickly to your area and region.
For more information about transplanting, hardening off herbs, and how to put those herbs to good use, check out my book The Homesteader’s Herbal Companion!