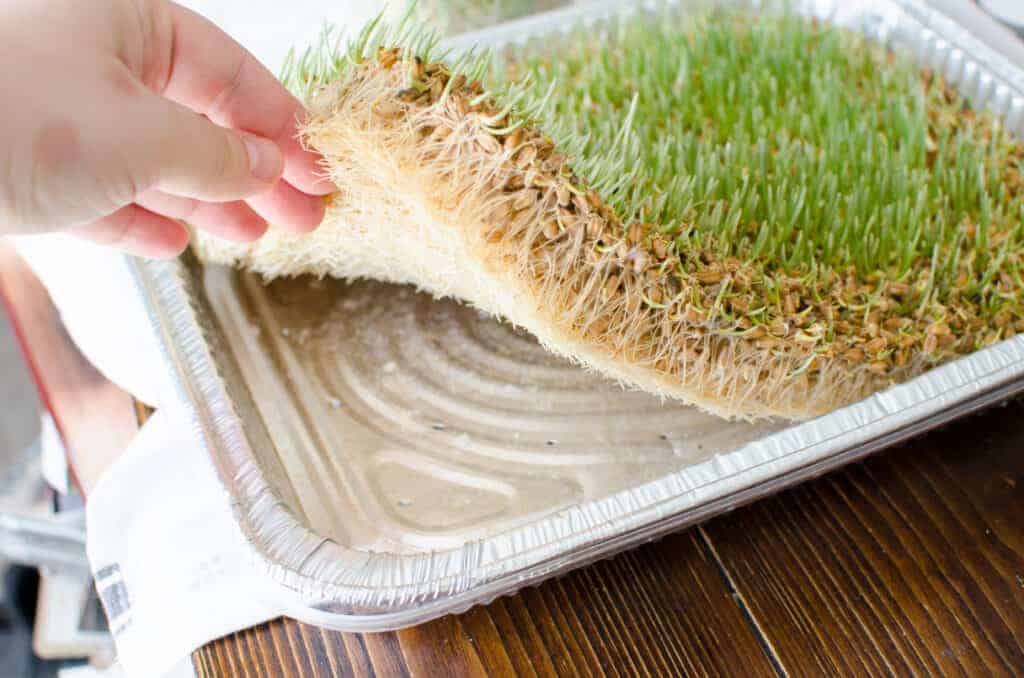
What do chickens eat? Some chicken feed. A few bugs. Some grass. Fodder. Wait, what’s fodder? If you have chickens but you don’t have a yard for them to roam. Or, you have a yard but maybe you want grass all year long, even when it’s not growing. Then a chicken fodder system is a necessity on your homestead. Growing fodder for chickens is so easy, anyone can do it! Yes, that means you!
Before we get started, just know that chicken fodder can be as easy or as complicated as you want it to be. There is no right or wrong way to do it, as long as you’re growing fodder. It can also be expensive or in-expensive as you want it to be, too.

What Grains Can You Use to Grow Chicken Fodder?
When growing fodder for chickens, there are a few different grains you can use for sprouting. You can use just one of these grains, or a mixture of them, for your chicken fodder.
Grains you can use for fodder include:
- Wheat
- Oats
- Barley
- Rye
All grains become 40% more digestible when sprouted, soaked, or turned into fodder for chickens. Your chickens will need to consume less chicken fodder than the amount of regular feed that they regularly eat simply because the nutritional value is higher. The absorption rate of the fodder into the chicken’s system is also greater and more efficient.
To learn how much feed chickens actually eat, you can read my “How Much Feed Do Chickens Eat?” blog post linked here.
Chickens need 2-3% of their body weight in fodder each day, if you’re only feeding fodder (not feed) daily. Offer it along with their grit, mineral, and vitamin supplements.
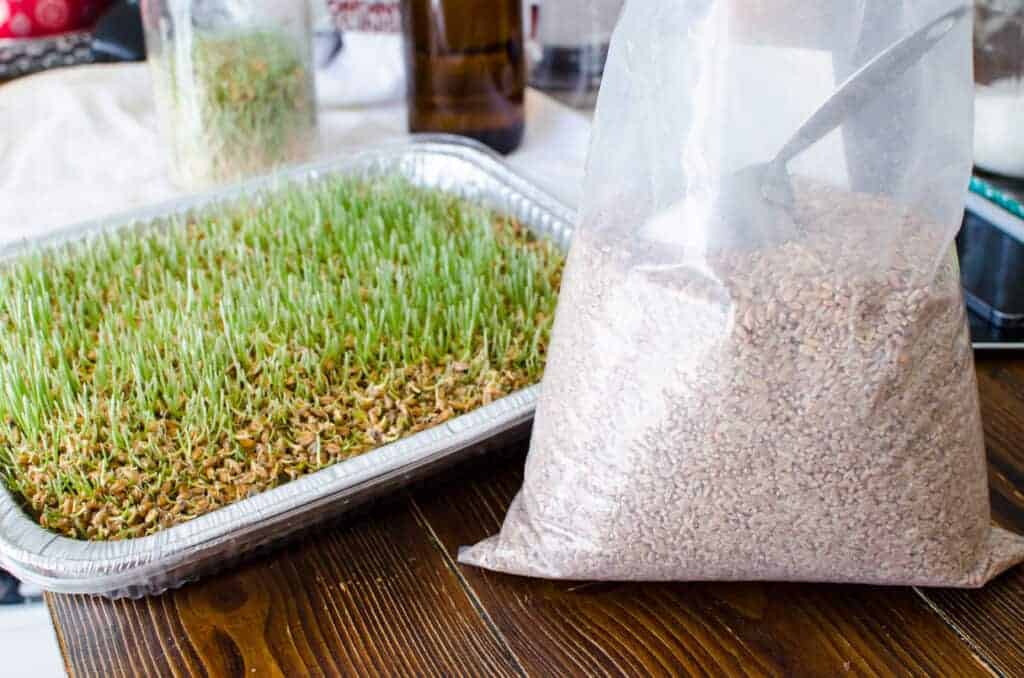
Steps to Growing Chicken Fodder
You can make chicken fodder as simple or as complicated as you’d like it to be. Some people just grow small batches of fodder for chickens in a sunny window during the winter months—while other people grow huge trays of fodder on large shelving racks with grow lights all year long.
That part is up to you—but the growing part is the same across the board. You’ll need just a few things to get started.
What you’ll need to grow fodder:
- Shallow container (I like these plant growing trays)
- Grains of choice (listed above)
- Water (non-chlorinated)
- Spray bottle (optional)
- Shelving (optional—if you’re doing large batches)
- Grow lights (optional)
Step 1:
Soak your grains of choice in a food grade bucket or bowl overnight. This will jumpstart the process.
Step 2:
Find a sturdy container, like these plant trays, as your base for your fodder. Old plastic or metal cake pans work well. If there are no holes in the bottom, drill lots of little holes in the bottom—big enough to allow water to drain, but small enough so that the grains don’t escape when watered. You may have to place a plastic mesh liner in the bottom of the pan if your holes are too big.
Step 3:
Add your soaked grains to the pan, no more than 2 inches thick. I like to add just a thin layer until I can’t see the bottom of the pan any longer. Give them a nice big water under the spigot, and then let them drain before setting them in their permanent place.
Step 4:
Keep the grains moist, but not soaking wet, until they begin to sprout. You can do this by using a spray bottle with water, or by simply running the fodder under water each day and allowing it to drain fully. Make sure you’ve set them in a sunny place so they grow quicker.
If you want to grow them more uniformly, you can use a grow light system.
If you want the grains to drain (instead of using the spray bottle), you might consider placing a drain pan or cookie sheet under them.
Step 5:
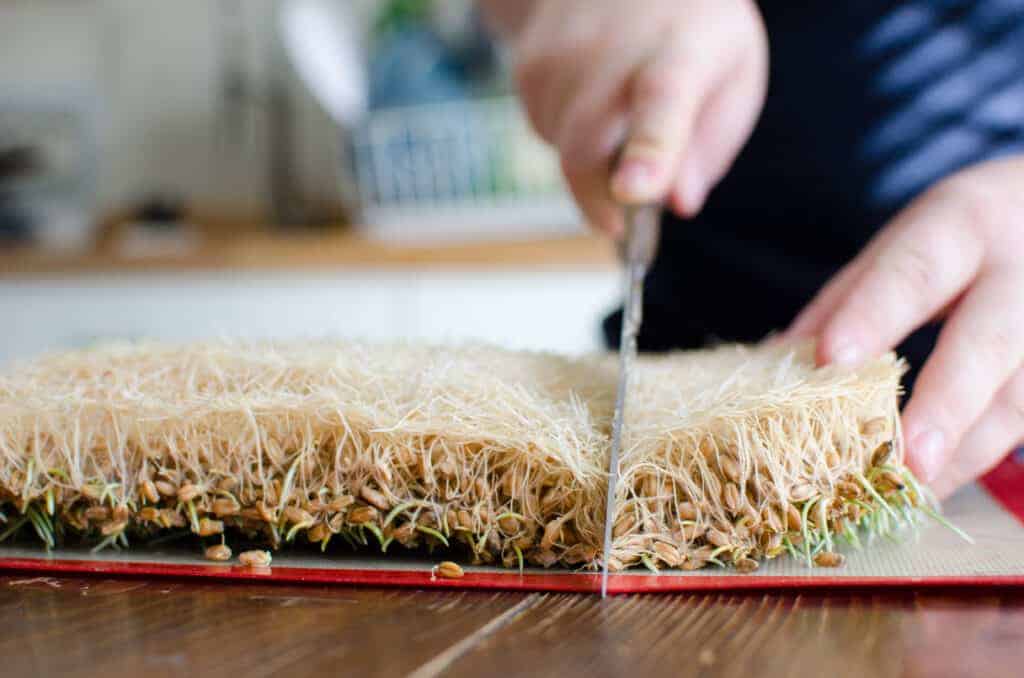
After 3-7 days, your fodder will be sprouting nicely, depending on the temperature in your home or where the fodder is located. Once the fodder reaches the desired length, flip it upside down onto a clean surface and cut from the bottom, where the roots are. Make 4 inch squares, or desired size, and offer to your chickens as needed!
Fodder can take a few tries to master, but once you’ve mastered it, you’ll begin putting together a constant rotational system that suits your needs.
While fodder is great, putting your chickens on pasture most of the year is your best option, if space allows. Fodder acts as a pasture replacement when pasture raising isn’t an option, or isn’t available during cold months.
If you don’t have time or space to make fodder, try sprouting wheat, broccoli, peas, or other grains and veggies in a mason jar! Simply soak them everyday in water, drain well, and watch them grow.
Rotating Your Fodder for Constant Growing
If you want to constantly have batches of fodder on hand, you can make more than one pan the first day. Then, every few days make a few more pans. As you continue to make pans every few days, you’ll have a constant supply of fodder on hand!
If you’re into nutrition for your own family and you find that you have too much fodder, you can cut the fodder sprouts and use them in smoothies and more!



This is good info for home farming, I love it .
I’m lookin for seeds to start my fodder. Where can I buy it. Thanks
Sprout the wheat you buy at the feed store
Where do you purchase the seed?
I get mine from amazon or locally
Are there any non-gluten grains that can be used for fodder? I have celiac disease and prefer not to handle or breathe the dust from the grains listed.
Oats are not a gluten grain. You can also use buckwheat, sorghum or millet. Of course if you are very sensitive you will want to make sure they are not handled in a facility that also handles gluten grains.
Hi, can you feed chickens being raised for meat this kind of fodder? I am researching feeding them with alternative cheaper options.