• Home
  • Membership
  • Shop
  • Cart
  • Our Farm
  • Gut Health
  • Herbal Practice
  • Buy Trusted Supplements
  • Nav Social Icons

  • Skip to primary navigation
  • Skip to main content
  • Skip to primary sidebar
  • Skip to footer
  • Home
  • Blog
  • About Me
  • Our Farm
  • Gut Health
  • HH Membership
  • My Books
  • Youtube
  • Podcast
  • Homesteading
  • Chickens
  • Herbs
  • Family
  • Farmhouse
  • Homemaking
  • Recipes
  • Sourdough
  • Contact Me
  • Herbal Practice
  • Buy Trusted Supplements
  • Mobile Menu Widgets

    Search

    Connect

Amy K Fewell | Homesteading for the Kingdom

Amy K Fewell | Homesteading for the Kingdom

  • Start Here
    • About Me
    • My Books
    • Podcast
    • Youtube
    • Gut Health
  • Blog
    • herbs
    • Bees
    • chickens
    • rabbits
    • Farmhouse
    • gardening
    • devotional
    • homemaking
    • sourdough
    • recipes
  • Courses & Books
    • HH Membership
    • My Books
  • herbs
  • Podcast
  • Contact Me

How to Make Herbal Lotion Bars

November 18, 2018 · In: Featured, herbs, homemaking, natural living, recipes

Herbal Lotion Bars
Herbal Lotion Bars
Herbal Lotion Bars
Herbal Lotion Bars
Herbal Lotion Bars
Herbal Lotion Bars
Herbal Lotion Bars
Herbal Lotion Bars
Herbal Lotion Bars

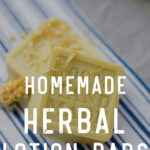
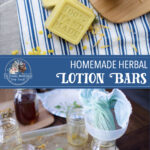
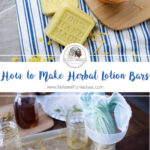
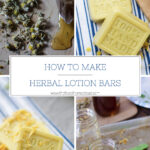
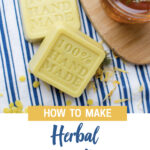
I had never heard of lotion bars when I first started researching for herbal products that help with dry skin. But when I finally did discover them, I was hooked. Not only are lotion bars extremely efficient in healing dry skin, but they are extremely easy to make. The best part is that you can create lotion bars with specific herbs to help whatever skin soothing needs you may have. These are great herbal products to make in batches to give away during the holidays, birthdays, or just as a little gift!

Preparing to Make Herbal Lotion Bars

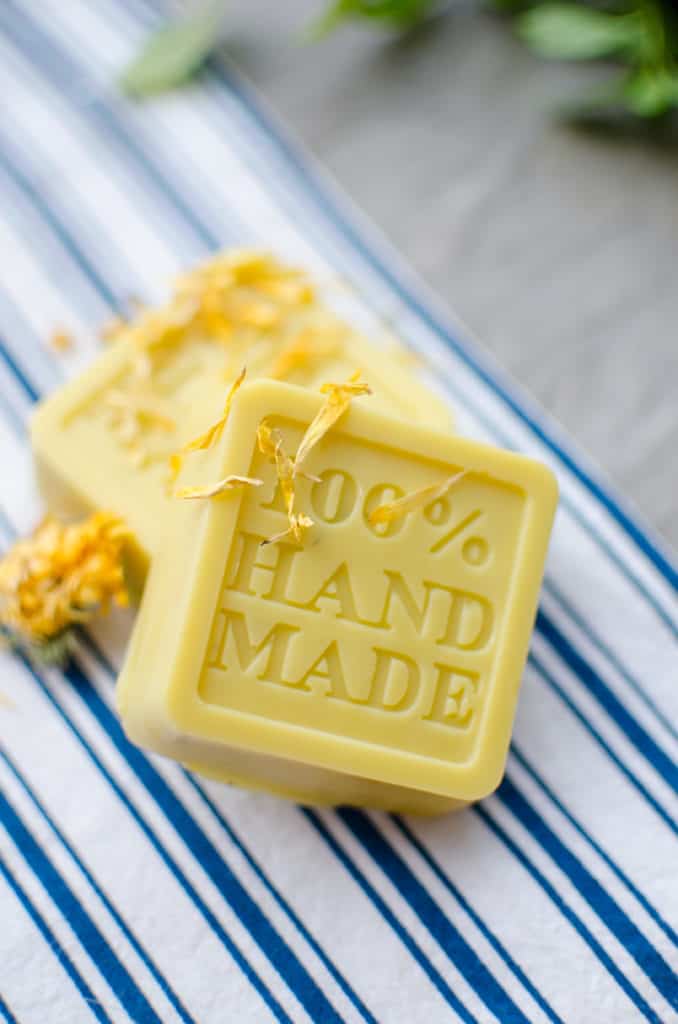
A lot of people love lotion, but need some extra TLC when it comes to skin care. That’s where lotion bars come in. They have all the healthy benefits of lotion, but instead of just soaking directly into the skin, they also seal in that moisture since they are beeswax based. You simply rub the lotion bar on a dry area of the skin that needs extra attention. This works well for rough elbows, heels and feet, and knees. The heat from your body naturally begins to “melt” the lotion bar as it soaks into your skin.

Lotion bars look a lot like soap, but aren’t used in the same way. However, the awesome part is that lotion bars are ten times easier to make than soap bars! While lotion bars are easy to make, there are a few things you’ll need to learn how to do do to prep to make  your lotion bars.

How to Make an Infused Oil

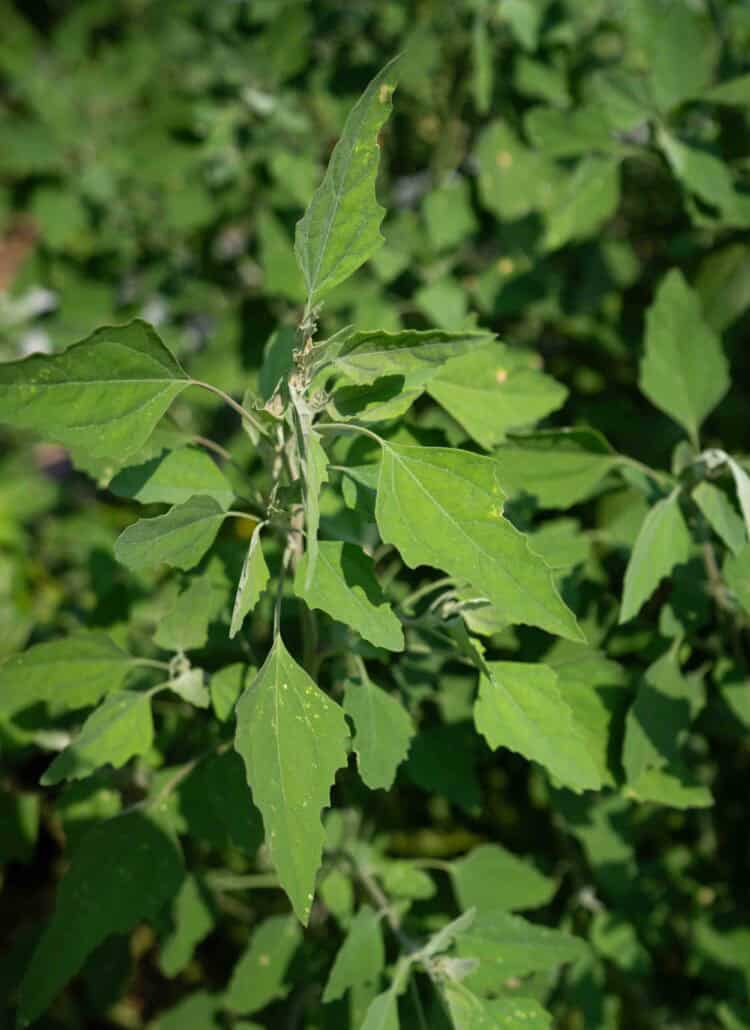
One of the ingredients in lotion bars is infused oils. These are oils that you can make once and keep on hand for quite awhile. They are simple and straight forward to make, and can be stored in your pantry for up to a year.

There are two ways to make an infused oil, the long way, and the quick way. I always choose the quick way because I never know when I’m going to need an infused oil quickly.

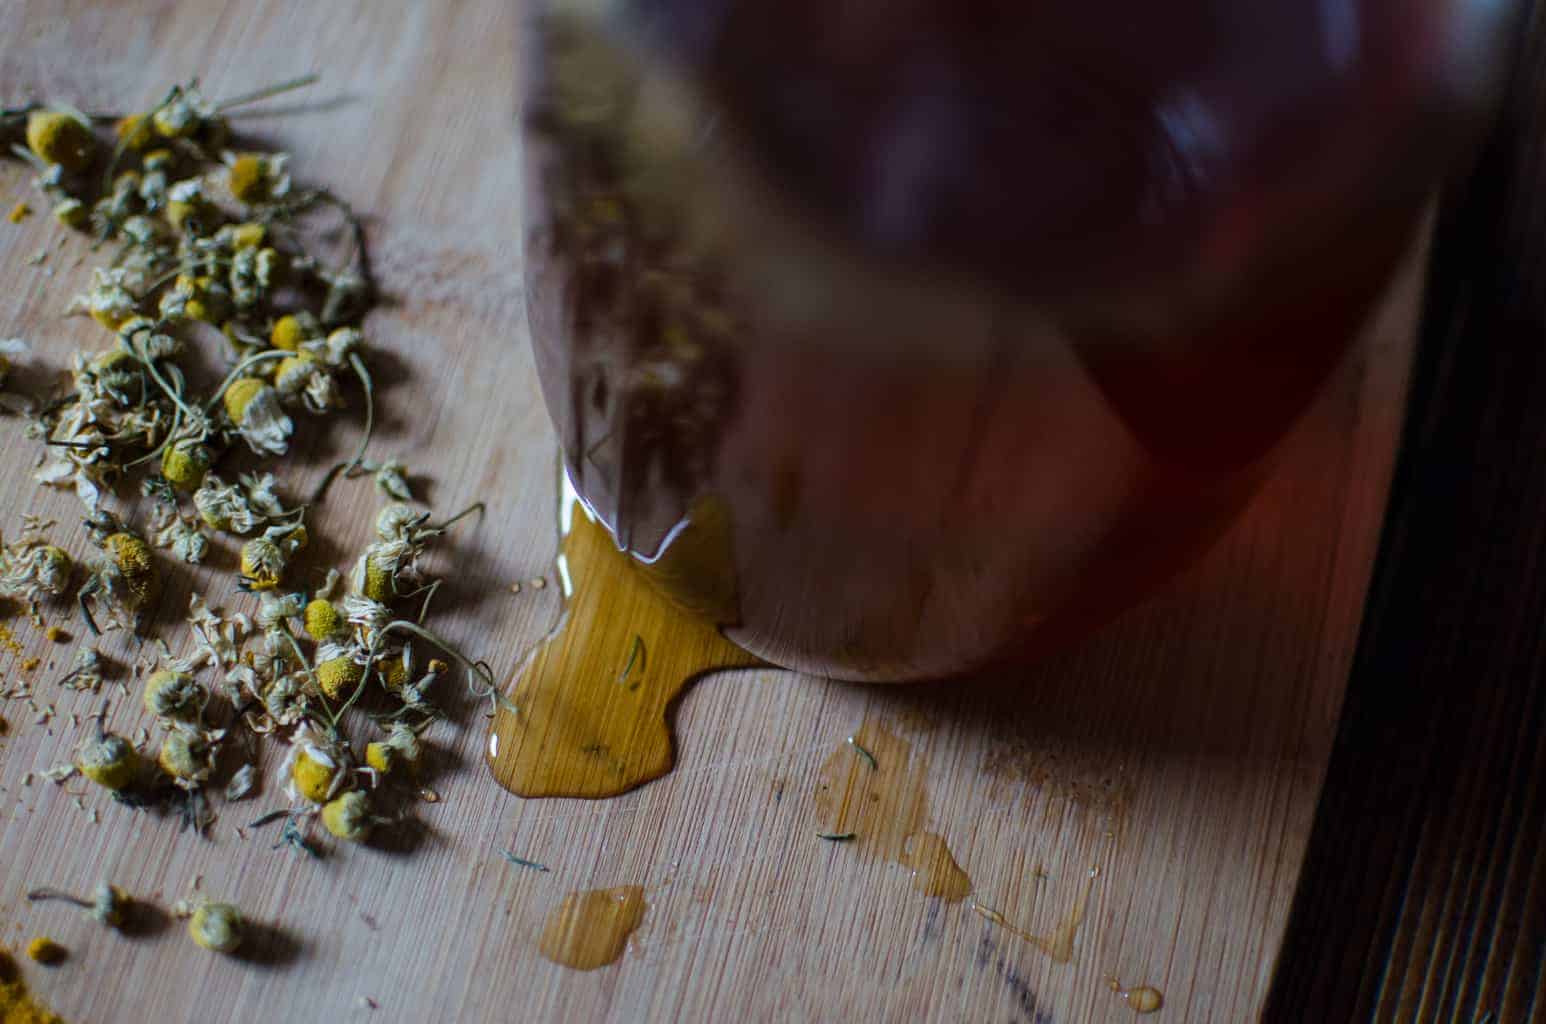
  1. Measure out your dried herbs and oil into a mason jar. Make sure you are using a 1:5 ratio when measuring (example: 1 ounce herb to 5 ounces oil). Use oils like jojoba, sweet almond, or olive oil. You can crush up your herbs to make the oil cover them more completely if necessary.
  2. Turn your oven to 300 degrees. Once it reaches temperature, turn the oven off and place your jars of herbs and oil (uncovered) into the oven. Allow to set in the closed oven for 3 hours.
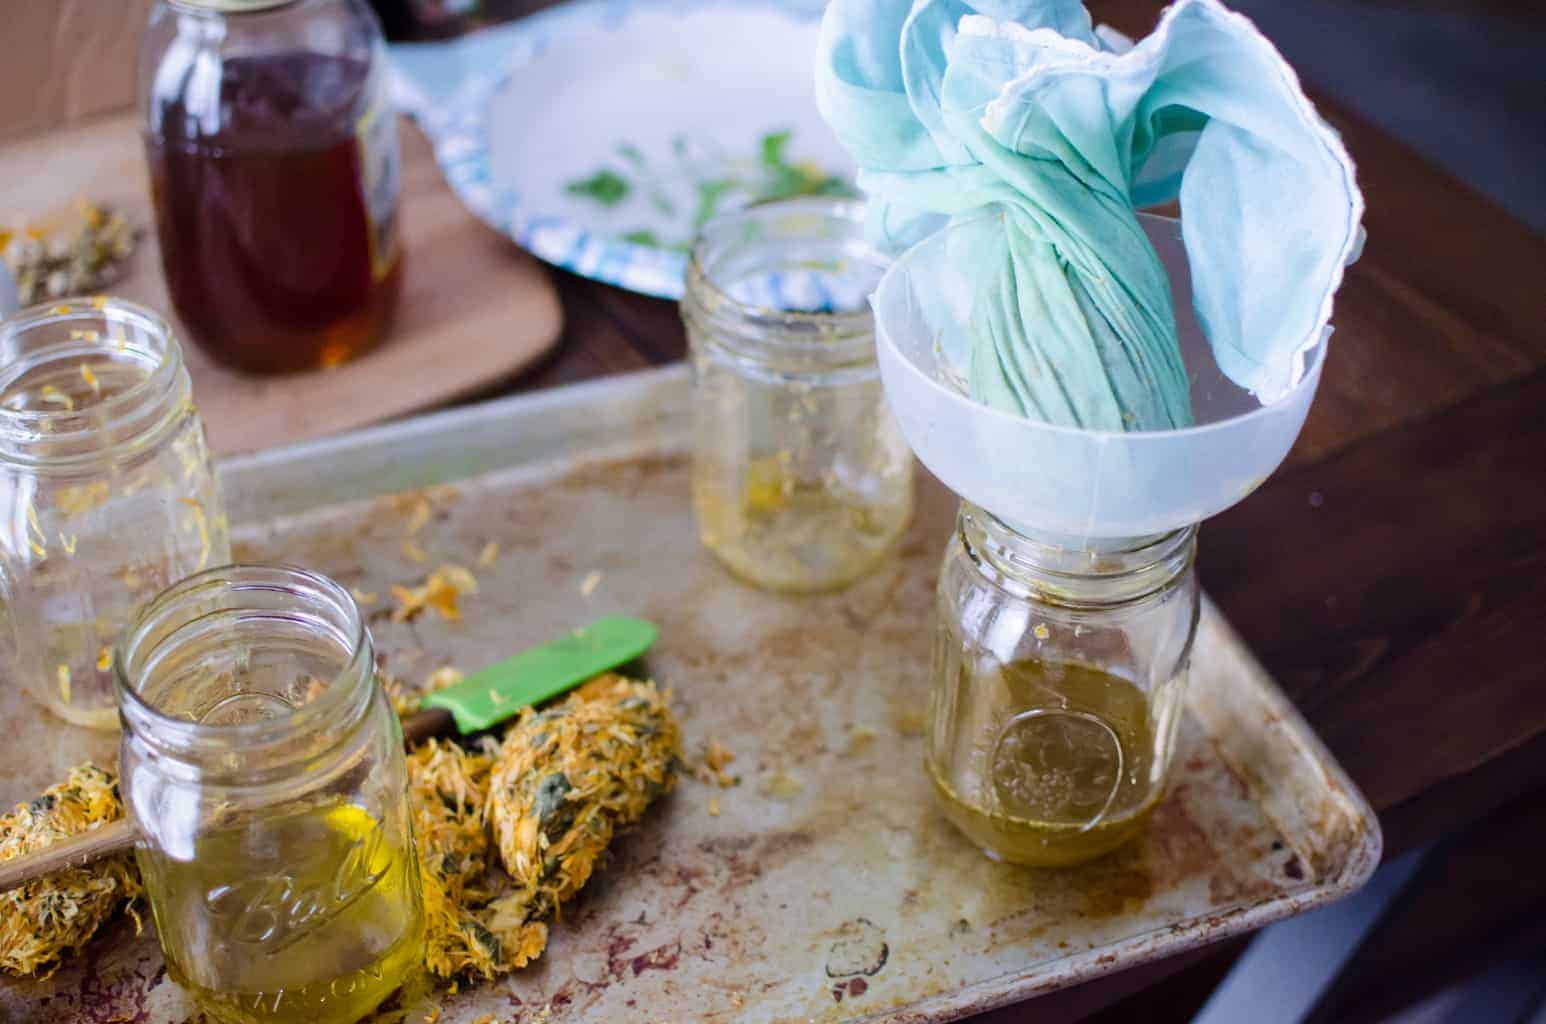
  3. Once the 3 hours passes, remove the jars from the oven and drain the oil into a new, clean jar, separating the herbs from the oil as much as possible through a mesh strainer or cheese cloth.
  4. Once your oils have cooled, cap and store until ready to use.

If you prefer to try the long way, simply add your dried herbs and oil to a mason jar, cap tightly, shake, and set in a window sill for 4 weeks. Make sure you shake the jar twice a day to ensure the herbs are infusing well into the oils. When ready, strain and store.

How to Make Herbal Lotion Bars

Now that you know how to make infused oils, you’re ready to  make your lotion bars! Here are a few of my favorite recipes. You’ll notice that most of them are the same with measurements, but different ingredients and herbal uses. Feel free to mix and match your own herbs to create your own scents and herbal lotion bars!

Skin-Healing Lavender and Calendula Lotion Bars
  • 1/2 oz lavender-infused oil
  • 1/2 oz calendula-infused oil
  • 1 oz cocoa butter
  • 1 oz beeswax

Method:

  1. In a double boiler, combine all ingredients until completely melted.
  2. Pour into square molds or a muffin pan. Allow to cool until completely hard (a couple of hours).
  3. Pop bars out, wrap in paper or put in a sealed container, and label. Use within one year.
Chamomile and Honey Soothing Lotion Bars
  • 1 oz chamomile-infused oil
  • 1 oz cocoa butter
  • 1 oz beeswax
  • 1 tbsp raw honey

Method:

  1. In a double boiler, combine infused oil, cocoa butter, and beeswax until completely melted.
  2. Remove from heat and quickly mix in raw honey.
  3. Pour into square molds or a muffin pan. Allow to cool until completely hard (a couple of hours).
  4. Pop bars out, wrap in paper or put in a sealed container, and label. Use within 6–8 months.
Citrus and Mint Lotion Bars

If you don’t want to use peppermint in this recipe, swap out the sweet almond oil with a spearmint-infused oil.

  • 1 oz sweet almond oil
  • 1 oz shea butter
  • 1 oz beeswax
  • 5 drops tangerine essential oil
  • 3 drops peppermint essential oil

Method:

  1. In a double boiler, combine oil, shea butter, and beeswax until completely melted.
  2. Remove from heat and quickly add essential oils. Mix well.
  3. Pour into square molds or a muffin pan. Allow to cool until completely hard (a couple of hours).
  4. Pop bars out, wrap in paper or put in a sealed container, and label. Use within one year.
How to Make Herbal Infused Oil for Salves and Herb Products
Pain-Soothing Lotion Bars

This lotion bar is great to keep on hand for aching skin, though not necessarily broken skin. It’s especially great for feet that are aching after a long day.

  • 1/2 oz cayenne-infused sweet almond oil
  • 1/2 oz arnica-infused sweet almond oil
  • 1 oz shea butter
  • 1 oz beeswax

Method:

  1. In a double boiler, combine all ingredients until completely melted.
  2. Pour into square molds or a muffin pan. Allow to cool until completely hard (a couple of hours).
  3. Pop bars out, wrap in paper or put in a sealed container, and label. Use within one year.

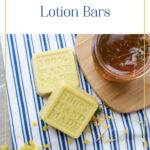
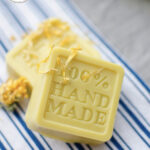
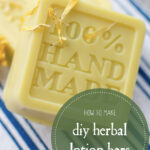
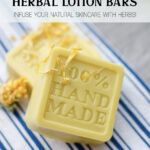
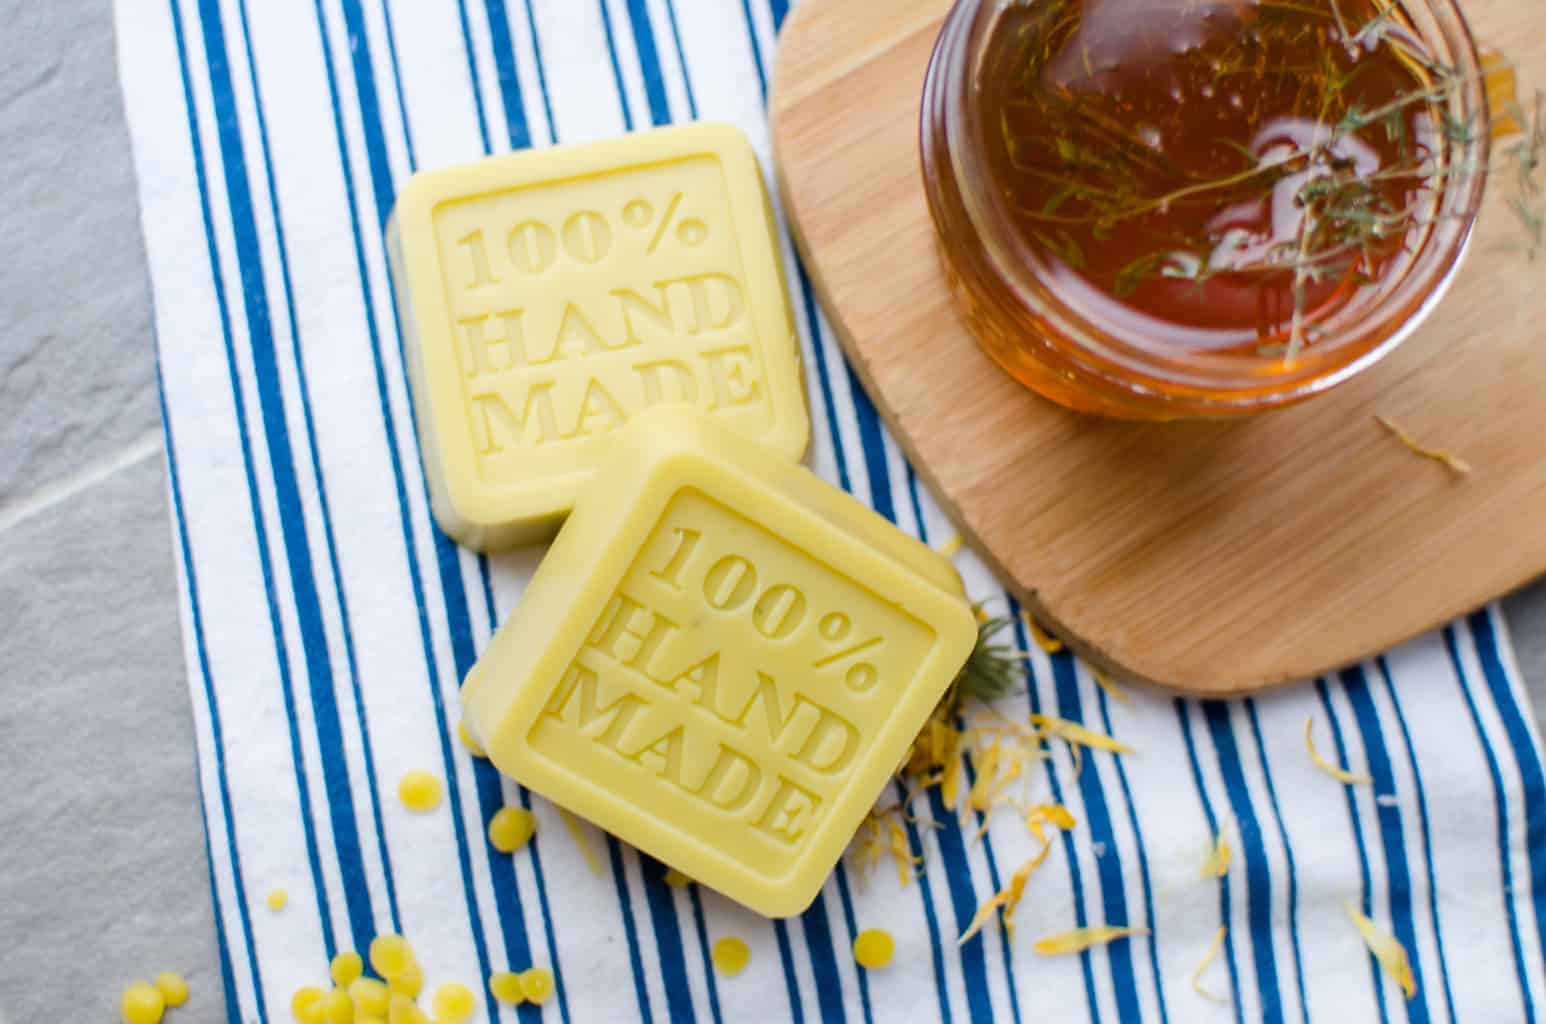
Find the 100% Handmade Molds HERE and HERE

I hope you enjoy these herbal lotion bars as much as I do. They are one of my favorite herbal products to make and giveaway each year, and they always smell so good!

If you’d like more herbal product recipes, check out my book, The Homesteader’s Herbal Companion for these recipes and more!

How to Make An Herbal Salve

By: Amy K. Fewell · In: Featured, herbs, homemaking, natural living, recipes · Tagged: herbs, lotion bars, The Homesteader's Herbal Companion

you’ll also love

Herbal Remedies for HighBlood Pressure and Pre-Eclampsia During Pregnancy (and Postpartum)
Client Case Study: Kidney & Liver Levels Balanced
Client Case Study: Seasonal Allergies Eliminated with Gut Healing

Reader Interactions

Comments

  1. Lori says

    February 17, 2020 at 1:36 am

    Just read your book. It is the best herbal and essential oil book I have read. I absolutely loved it. It’s exactly where I am in my herbal life…except for the farm & animals!

    • amyfewell says

      February 21, 2020 at 4:57 pm

      awww yay! So happy you enjoyed it!

  2. Susan Gillmore says

    June 19, 2020 at 8:48 pm

    I just made the CHAMOMILE AND HONEY SOOTHING LOTION BARS recipe you provided above. How do you keep the hot beeswax-chamomile oil-cocoa butter mixture from separating from the raw honey? I whisked the mixture together, poured into a few molds, whisked the mixture together, poured into a few molds….over and over and when the lotion bars were hard and I popped them out, there was a sticky layer of honey on the bottom of the mold. The honey had separated during the cooling process. The lotion bars that did not have a lot of separation left a sticky feeling on my hands. Is there a way to overcome that sticky residue on the hardened lotion bars?

    • amyfewell says

      June 26, 2020 at 1:38 am

      Hmm, that’s interesting! What kind of honey are you using? I’ve never had that happen before.

    • amyfewell says

      June 26, 2020 at 1:39 am

      And at what point are you adding the honey?

  3. Susan Gillmore says

    June 19, 2020 at 8:50 pm

    I mean, sticky residue from the lotion bars on my hands.

Next Post >

Homemade Herbal Marshmallow Hot Chocolate

Primary Sidebar

meet amy

meet amy
hello!

I'm Amy. I love organic food but I love cookies too I love Jesus and His grace. I believe broken people make the biggest impact in the world when they share their stories. I believe in stories, and I'm sharing mine.

Read More

Connect

Search

Ads & Sponsors

200x400

Advertise

Follow Along

@amy.fewell

Culture has been the topic in a lot of personal co Culture has been the topic in a lot of personal conversations recently. The culture of our society. The culture of the church. The culture of the family. In fact, I should totally talk about this topic more in-depth soon, and how it all coincides together. But today I am reminded of a conversation my husband and I had a few weeks back.

As we were talking about the “last days”, I posed this question—what if culture goes back to Bible culture and it’s all literal? 

We live in a very unique world and country. We expect none of the things we use and love everyday to disappear. But if there’s one thing I know and have witnessed, it’s that all of this is so fragile that it could disappear overnight. Literally. Within seconds. Gone. And suddenly a modern culture would wake up to a culture that pre-dates the 1800s. 

And so my question is this—what if God is preparing His church culture (there’s a shift happening) so that the church will be prepared for the societal culture shock when it happens? 

We’d all be preparing a lot differently, wouldn’t we?
For years, I’ve talked about fragile supply chains For years, I’ve talked about fragile supply chains, rising input costs, foreign dependence, and the vulnerabilities built into our modern food system.

Now, the USDA has confirmed the first domestic case of New World Screwworm in a Texas calf. The screw worm is a parasite that is flesh eating in nature. 

If you’ve listened to my interview with AJ Richards, you may remember him sounding the alarm about this months ago. Many people dismissed it as just another agricultural issue happening somewhere south of the border. But AJ explained something important—this is a food system concern, and it could cause a collapse of the already historically low beef herd in the USA.

These farmers are already facing years of drought, high feed costs, regulatory pressure, and economic uncertainty. When breeding stock leaves the system, rebuilding takes years—not months.

Now add a parasite that can rapidly spread through livestock populations and historically cost producers enormous losses. It may not affect the local small farmer who can monitor his herds easier (and probably has healthier herds). But it will absolutely affect bigger herds that are already struggling.

This is why I continually encourage people to think beyond the grocery store. The big ag food system is not one giant crisis away from collapse. It’s thousands of small pressures accumulating at the same time. Together, they create a system that becomes increasingly expensive, increasingly centralized, and increasingly vulnerable. 

Know your local farmer, raise some of your own food, learn skills, build community networks, and create resilient local food economies before they’re needed.

This is why so many of us have spent years talking about food sovereignty and homesteading. Not because we expect disaster around every corner, but because history repeatedly shows that resilient communities weather storms better than dependent ones.

Whether it’s pest, drought, inflation, fertilizer shortages, disease, or a disruption we haven’t seen yet, the lesson remains the same—the future belongs to communities that can feed themselves. And every year, that lesson becomes harder to ignore.
I have nothing to say. Just a pretty photo dump f I have nothing to say.

Just a pretty photo dump for old time IG sake.

The era where we followed homesteaders and farmers because their content was beautiful and practical and took us to a peaceful place. 

This is my peaceful place.
Most homesteaders raise meat chickens. Very few e Most homesteaders raise meat chickens.

Very few ever stop to ask, “What happens if I can’t buy chicks next year?”

For generations, families didn’t depend on hatcheries to fill their freezer. They developed breeding systems that allowed them to raise meat birds year after year, right from their own homestead.

That’s exactly why we began experimenting with a two-breed meat chicken system.

The goal isn’t to compete with a Cornish Cross. You can’t compete when it comes to saving time and money. The goal is resilience.

A good breeding program allows you to maintain your own flock, hatch your own chicks, improve genetics over time, and continue producing quality meat birds without relying on outside sources. It puts one more piece of your food security back into your own hands.

This approach combines the strengths of two different breeds—one contributing growth and carcass qualities, the other contributing fertility, mothering ability, hardiness, and long-term sustainability. The result is a practical system that can provide meat chickens year-round while allowing you to retain breeding stock for future generations.

If you’ve ever wondered how homesteaders raised meat chickens before modern hatcheries, or if you’ve been looking for a more sustainable long-term poultry plan, this article is for you. It utilizes modern Cornish cross broilers, while having a dual-purpose system back up. 

🐓Comment SYSTEM and I’ll send it directly to your inbox.
Mullein is one of those herbs that often gets over Mullein is one of those herbs that often gets overlooked—growing wild along fence rows, in pastures, and even in places most people would call “weedy.” But for generations, it has been one of the most beloved herbs for the lungs, respiratory support, and overall herbal wellness.

Its soft, velvety leaves and tall flower stalk are easy to spot once you know what you’re looking for—and once you learn how to use it, you may never walk past it the same way again.

Mullein has traditionally been used to:

🌿 Support the lungs and respiratory tract
🌿 Encourage the body to clear mucus naturally
🌿 Soothe irritated throats
🌿 Infuse into oil for ear support
🌿 Dry and preserve for teas, tinctures, and the herbal cabinet

And one of my favorite things about it? It grows abundantly and asks for very little.

There’s something deeply beautiful about learning the plants around us—what they are, how to harvest them well, and how God designed creation with so much practical goodness right in our own fields and gardens.

If mullein grows near you, this is your sign to get familiar with it.

Read the full article on my website, and learn how to identify it, grow it, harvest it, and start using it in your herbal routine.

🌿 Comment MULLEIN to have it sent directly to your inbox.

Footer

Learn More

Chickens
Homemaking
Herbs
Recipes
Devotionals

Info

About
Contact
Privacy Policy
Shop

stay in the know

Copyright © 2026 · Theme by 17th Avenue